TIP 01
Send exploratory questions

In the gathering phase, aim to preserve the integrity of stories by going straight to your sources. Ask preliminary questions about their lives personally, or what others witnessed of theirs, to serve as a foundation for the arch your narrative will follow. Plus, this infuses genuine words and uncovers truths that’ll make this photo book so much more than a basic biography. These exploratory questions should help you answer: who was this person? what did a day in their life look like? and how did they see and shape the world over time?
If you need a few starters, send these along:
TIP 02
Choose a fitting book type
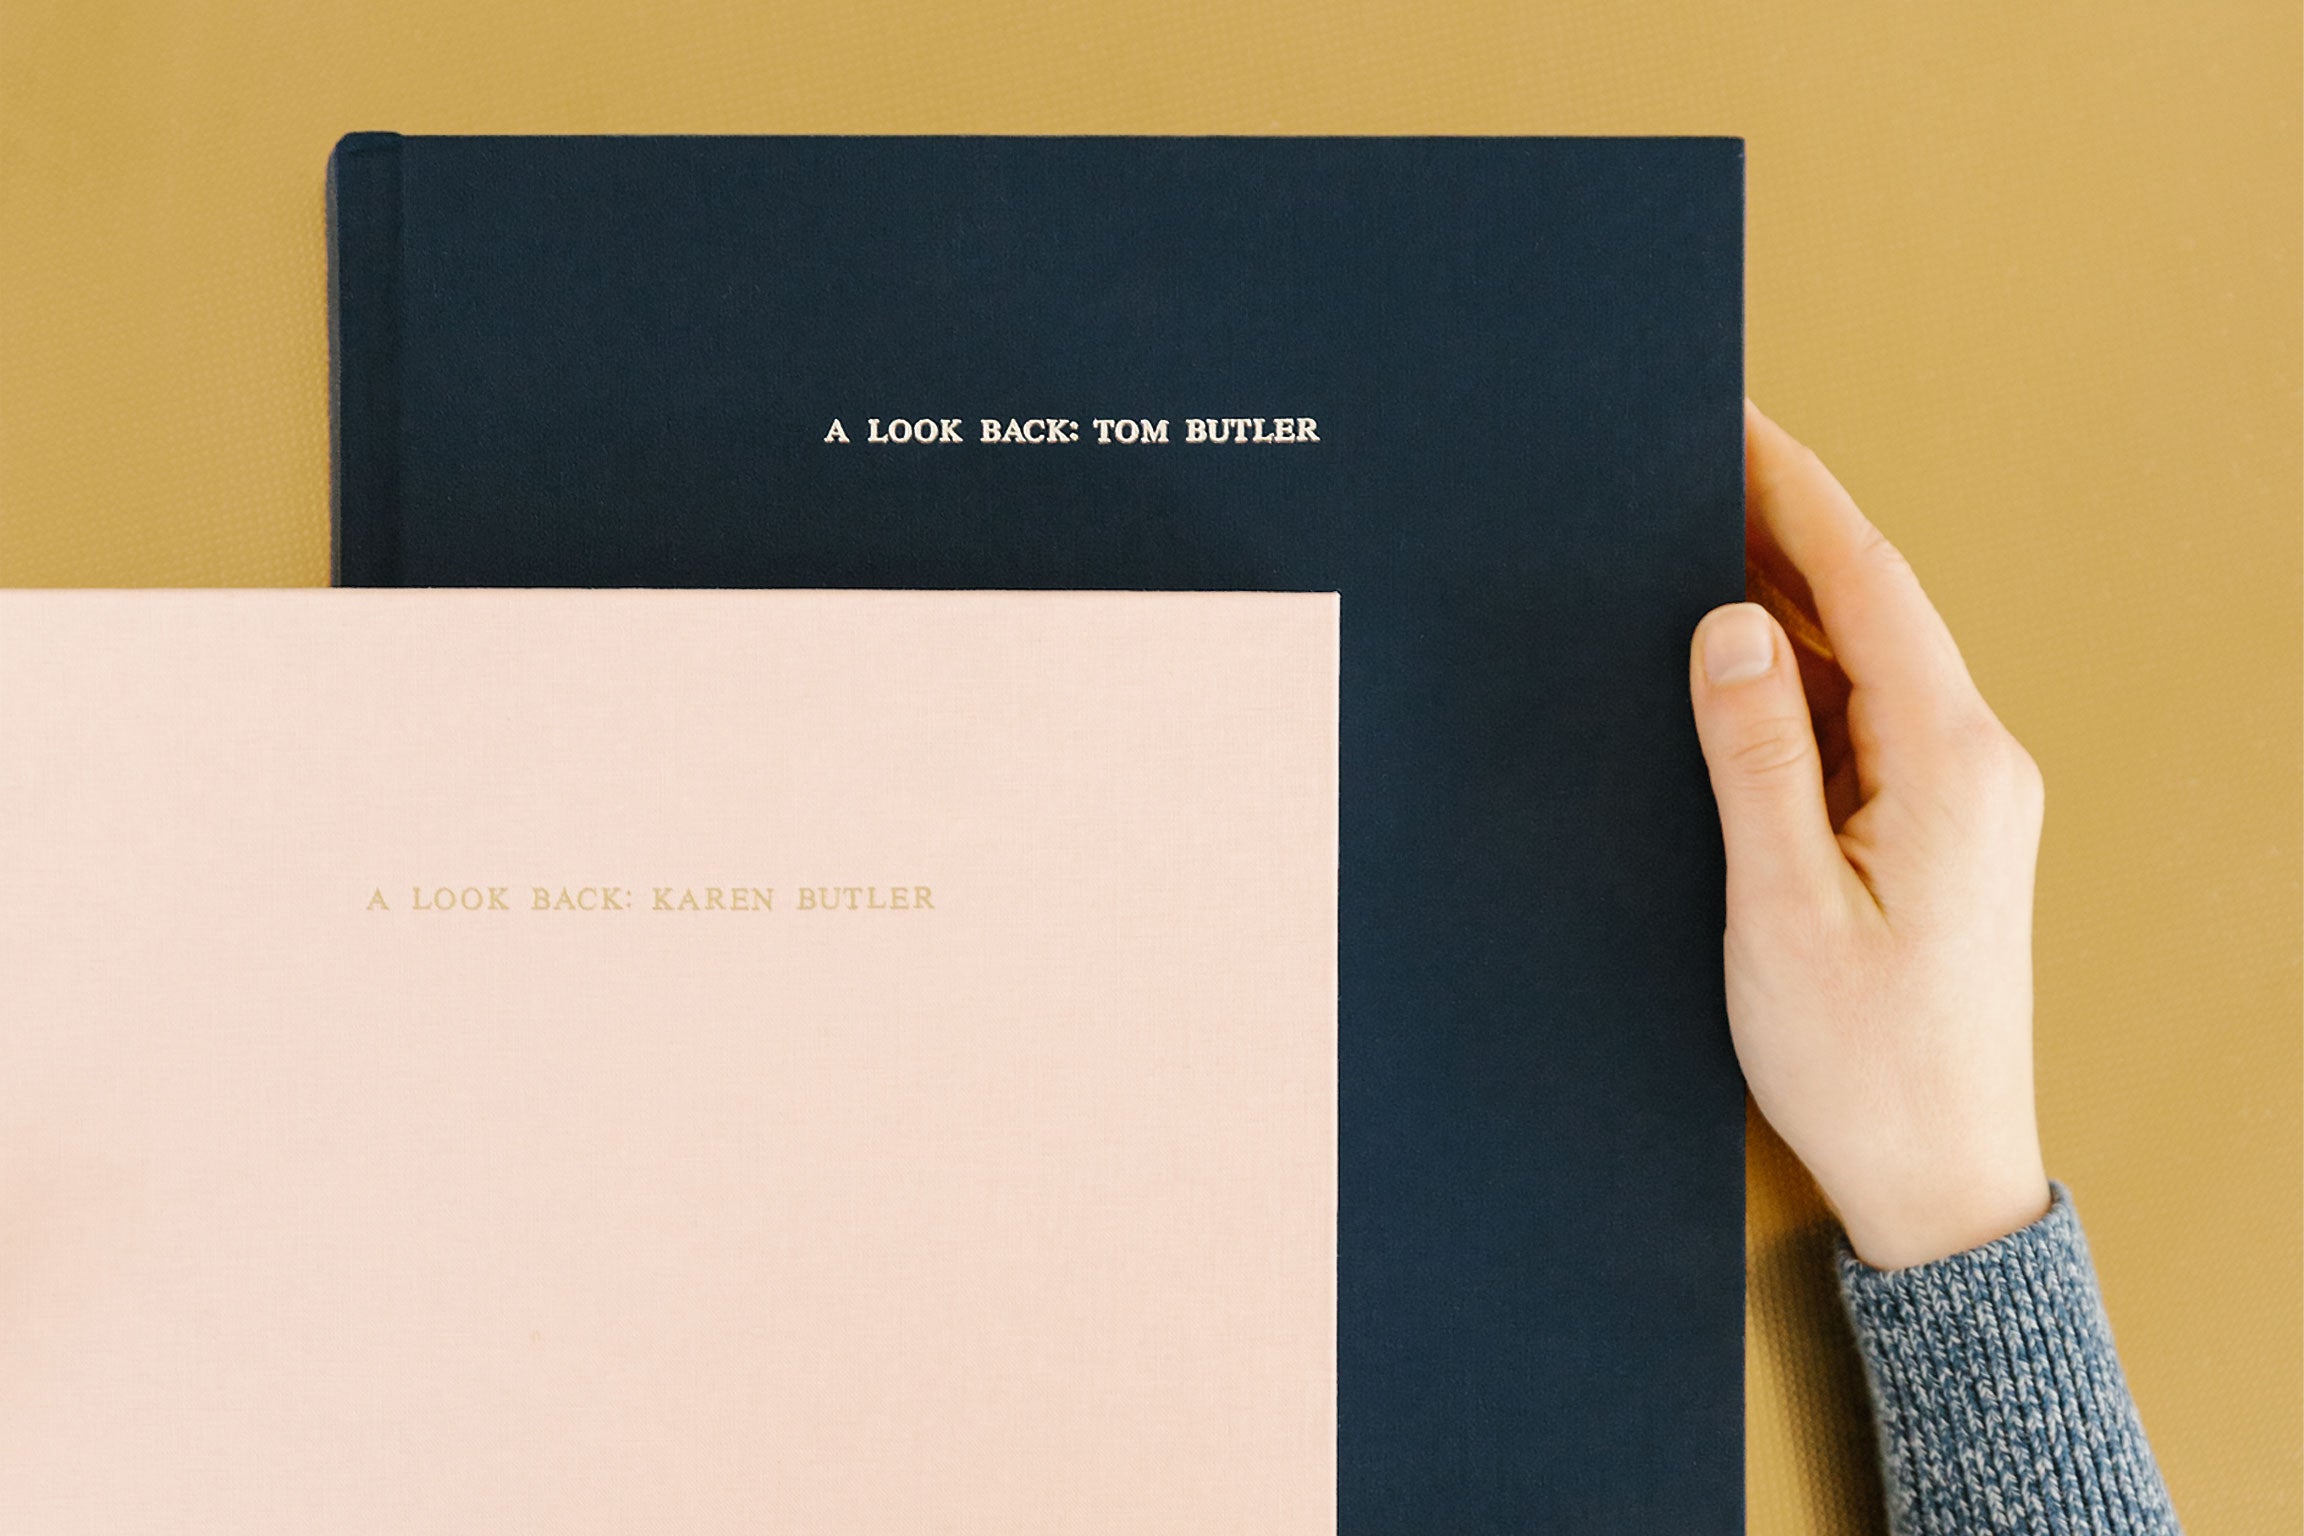
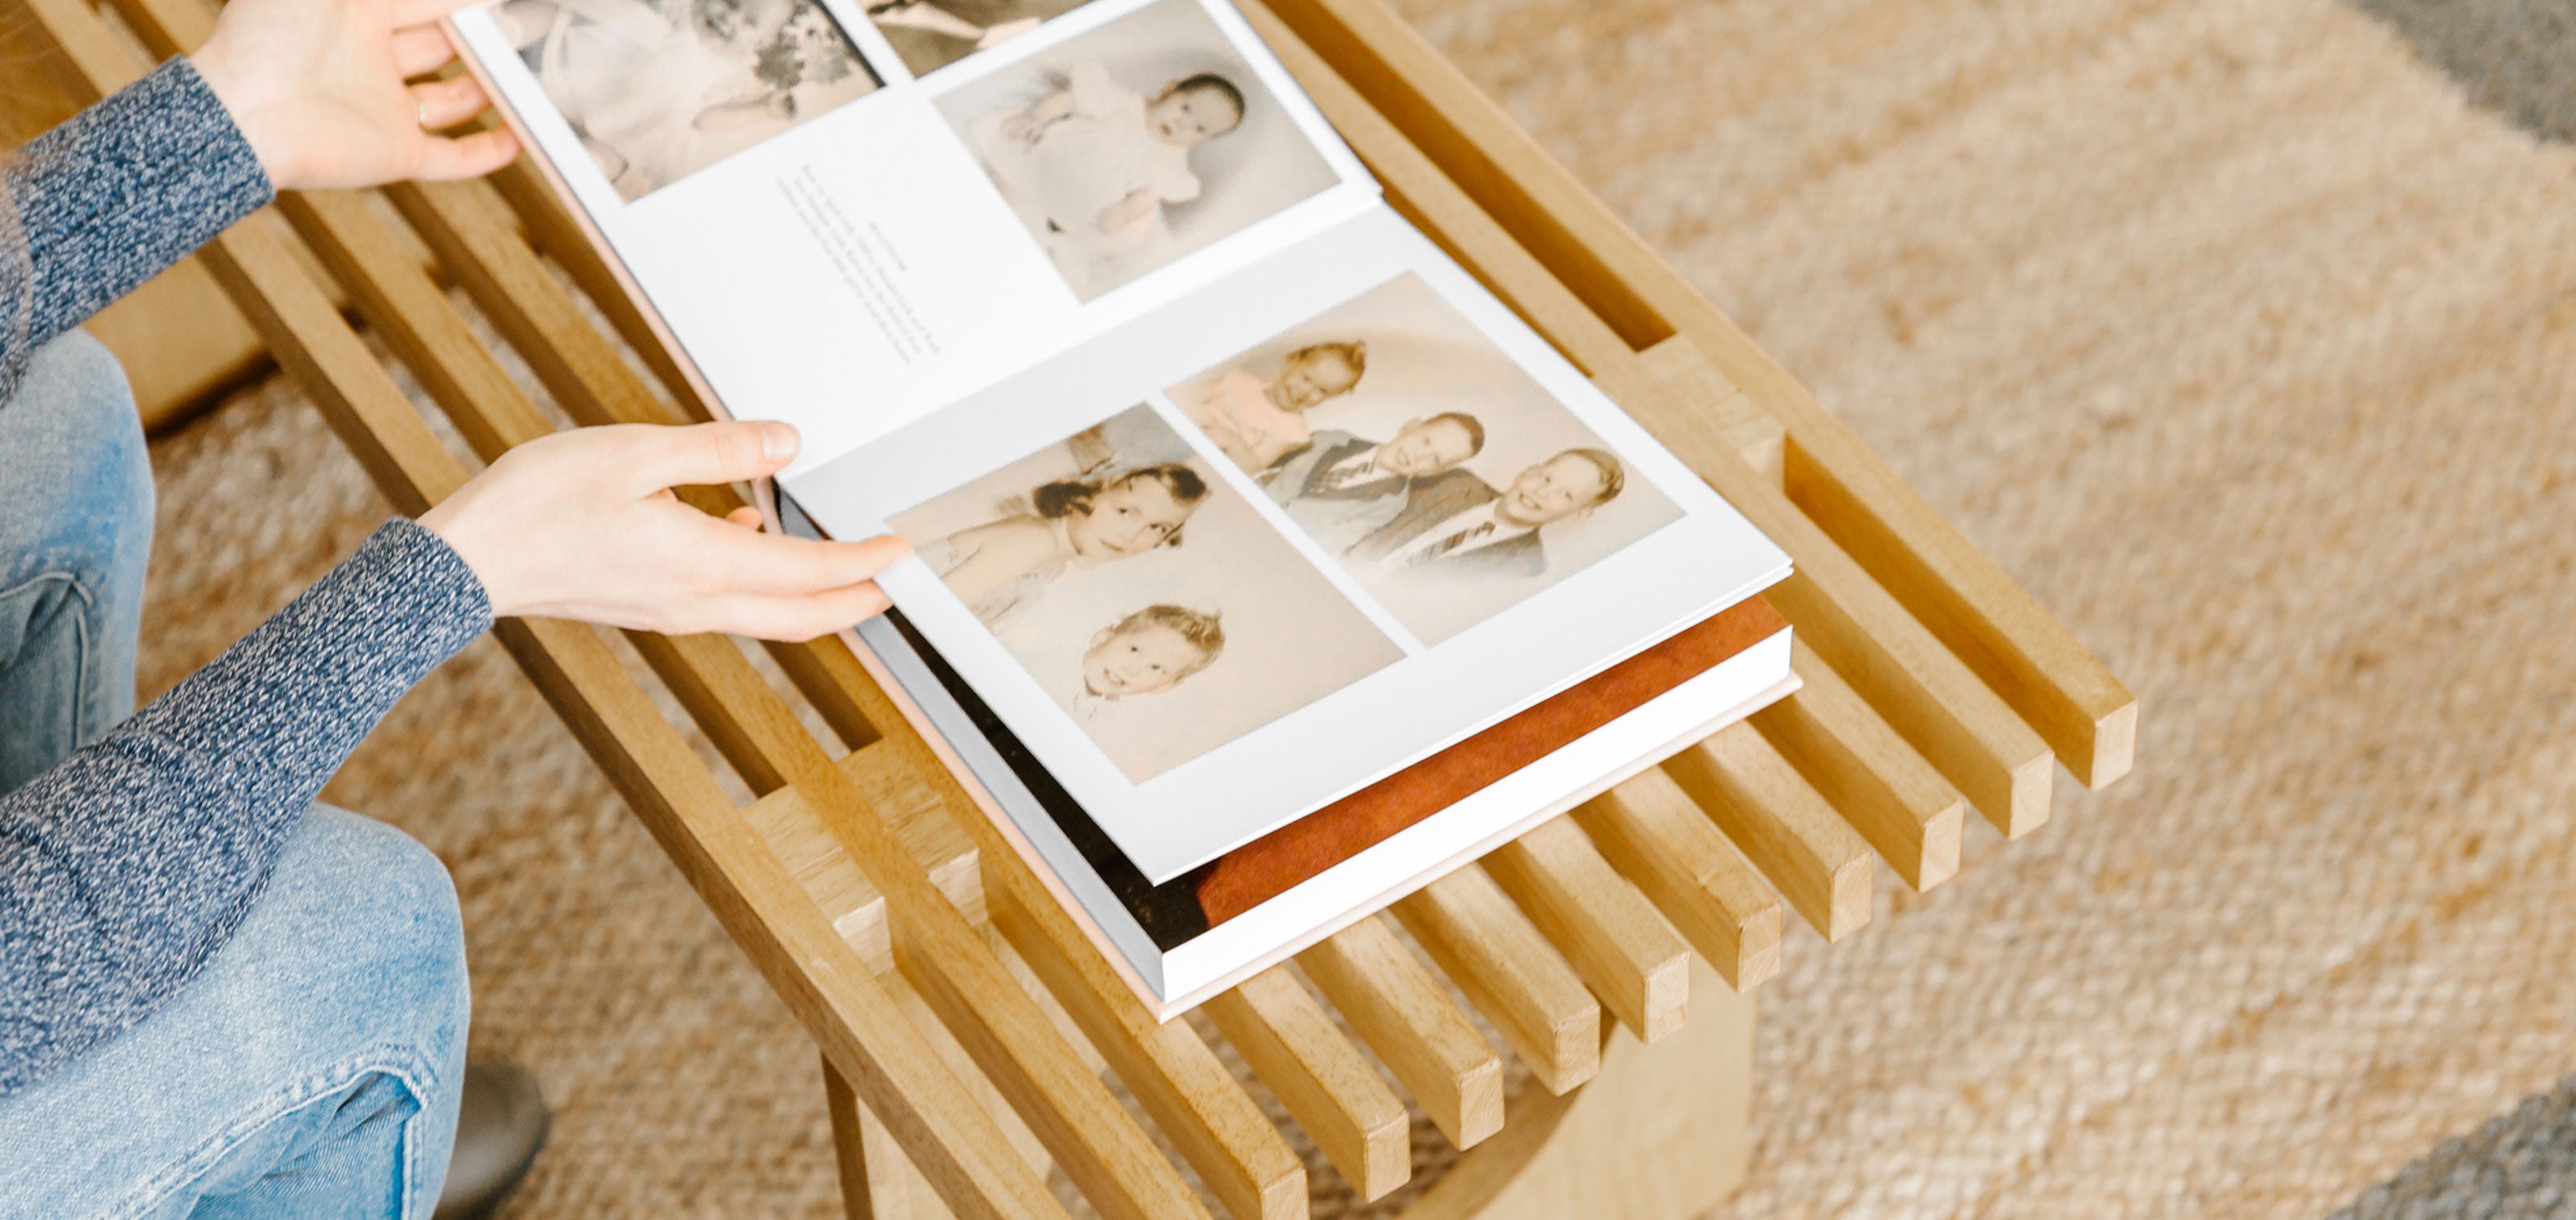
Wondering which type of photo book is best for your project? Consider the volume of images and text you want to include, as well as the magnitude of the milestone honored. For personal or family history books, we find that our Layflat Photo Album and Hardcover Photo Book are most fitting. The Layflat offers stunning, seamless pages and handcrafted quality to become a family heirloom. The Hardcover may be suitable to gift for a more casual occasion, and allots a higher page count — meaning even more delightful details within it. To stand the test of time and many pages turned, it’s probably best to steer away from thinner softcover formats, and opt for these sturdy, fabric-bound options.
For my parents’ albums, I believed this big birthday called for the best album available. Each of their Layflats were created with our "lustre" paper option, which tends to be more forgiving when rendering older (and lower) photo resolution in print.
TIP 03
Provide ancestral context
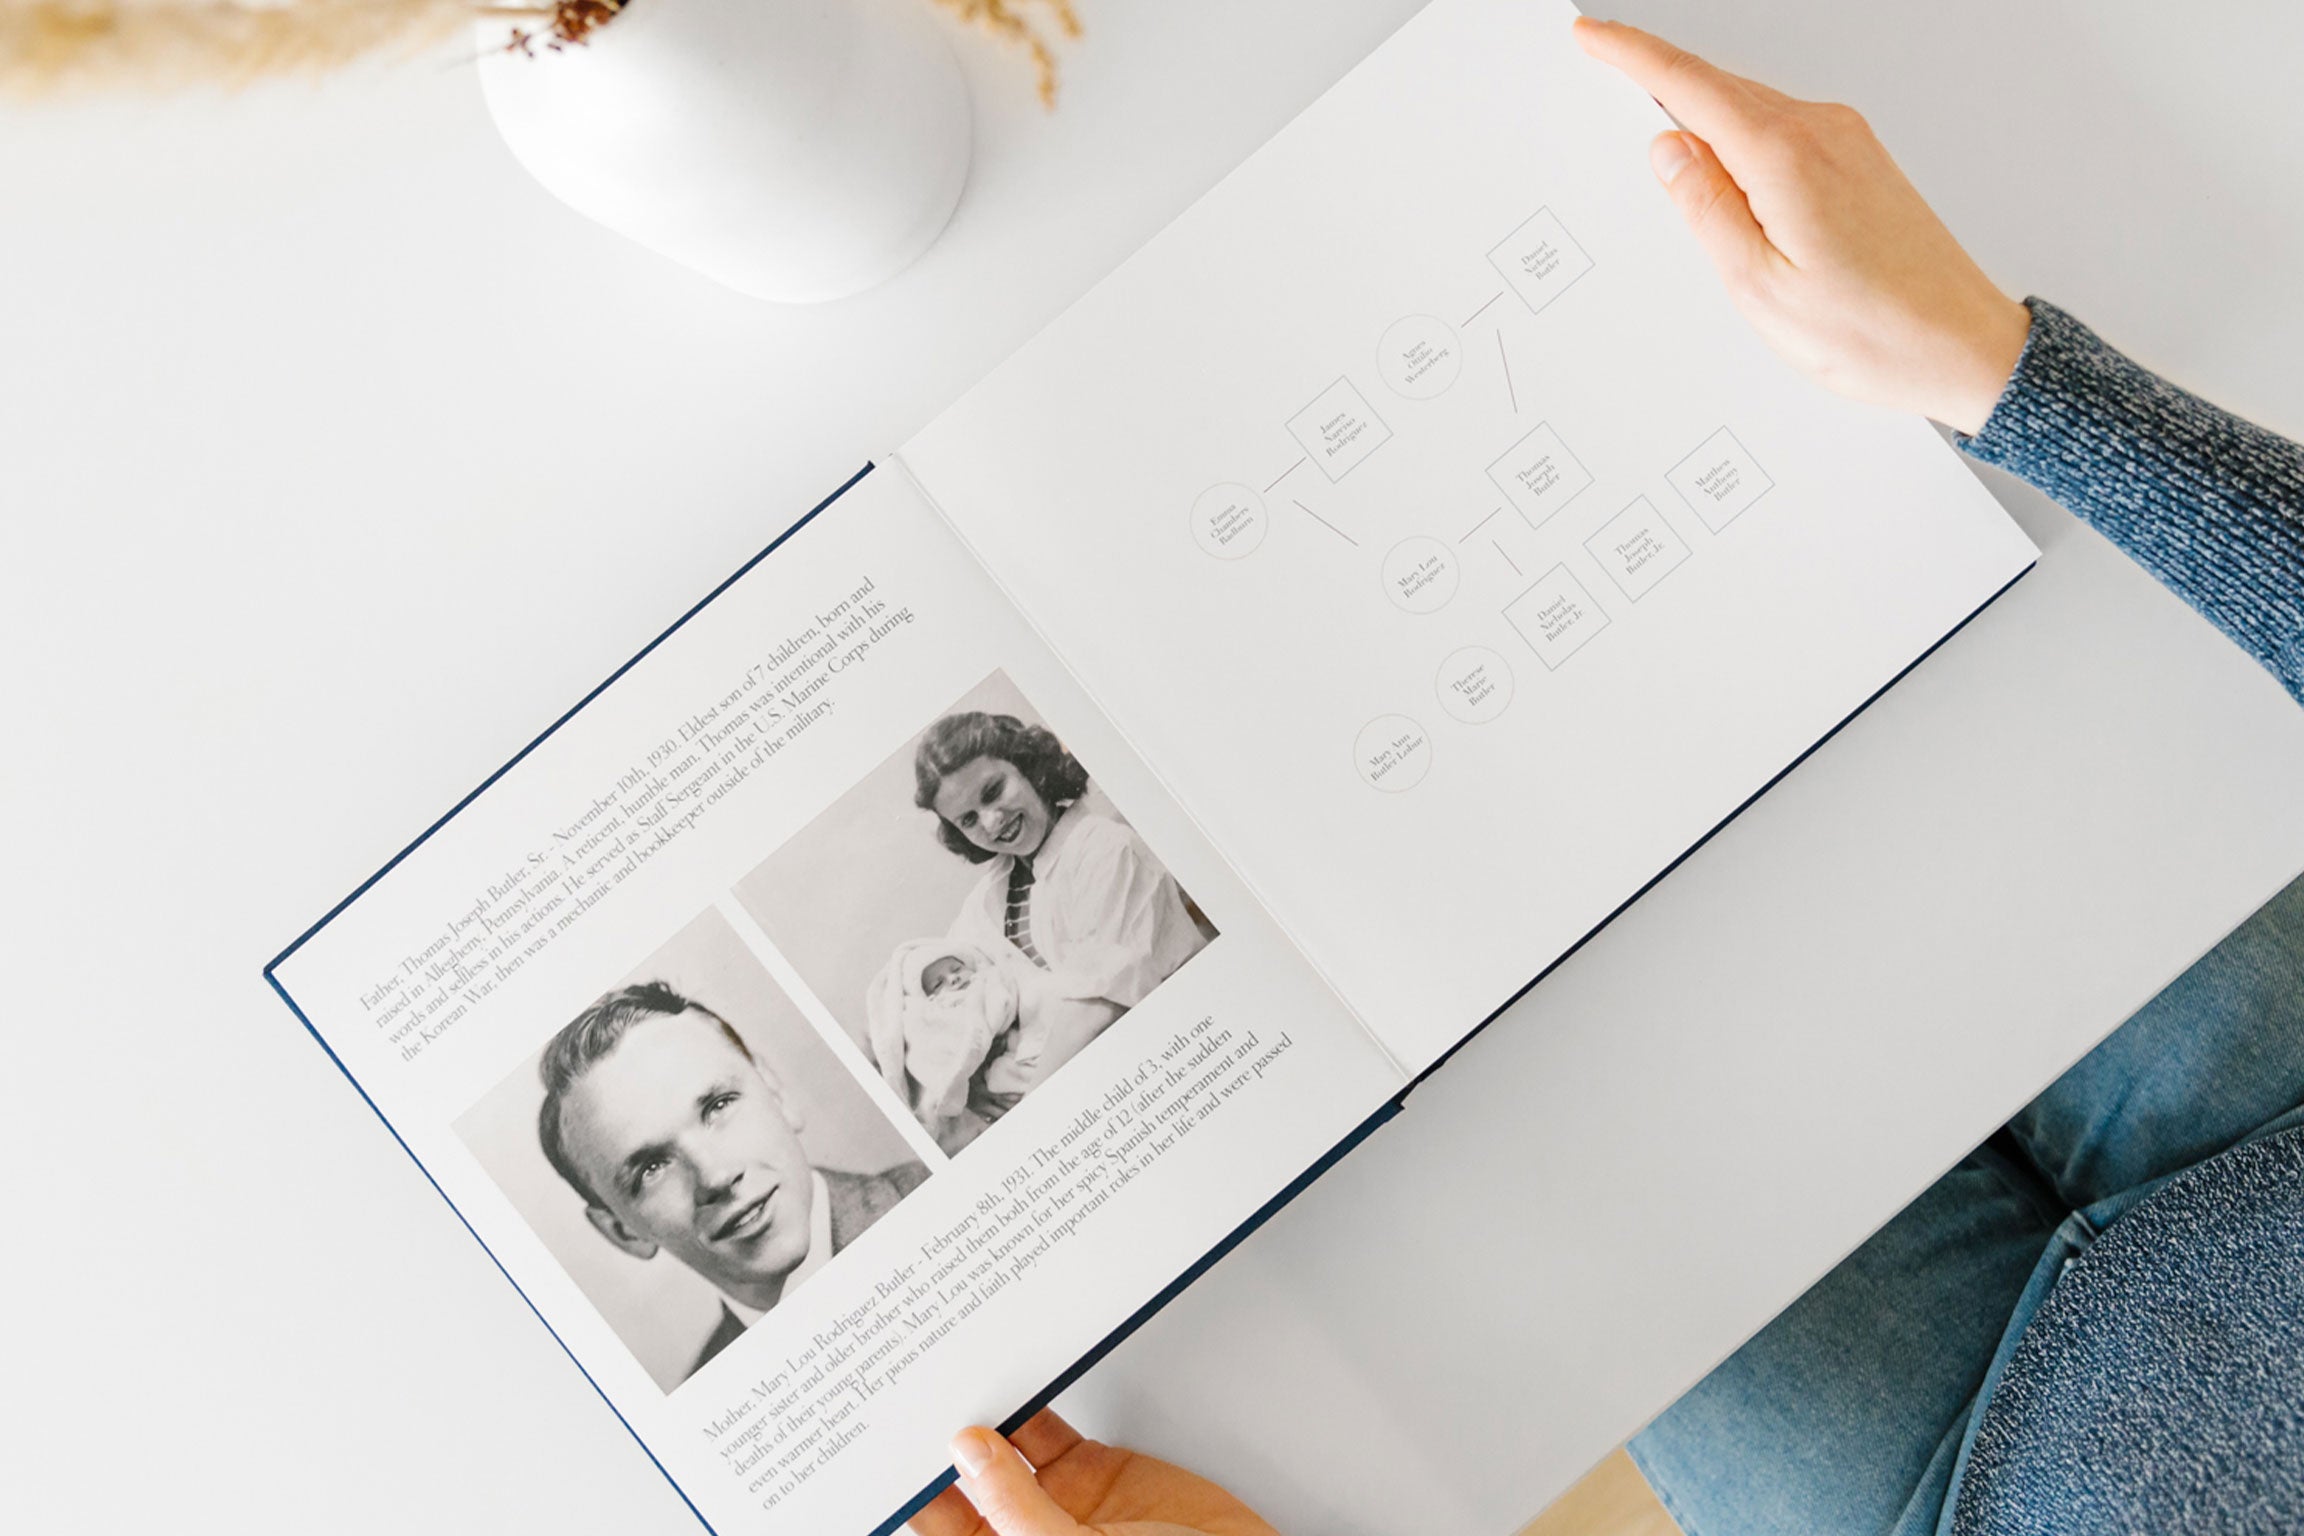
We all have our origins, and no matter who, what, or where they are, they play a part in the people we become. A little ancestry research can go a long way in telling a family’s history. To illustrate my parents’ family trees, I simply went back two generations in order to provide additional context in the albums. The first pages spotlight each of their parents, providing context for their childhoods and who they’d later become. Note: Every family looks different; this can also be accomplished by profiling any key people in the subject’s life, whether guardians, mentors, or other key influences.
Design tip: To create a visual family tree, I recommend using simple geometric shapes in Keynote (or any basic design program), then exporting or screenshotting your image for upload. Uncomplicated and classic.
TIP 04
Organize chronologically


The easiest way for any reader to follow along is to arrange the pages in chronological order. Starting from childhood through to the latest years, this gives you the standard but effective linear template for organizing your photos from the start. Don’t know exactly when a photo was taken or what year something happened? Don’t stress — rough timeline plotting with milestone markers are just as effective, and relieve some of the pressure to perfectly place each piece of history.
TIP 05
Feature different types of visuals
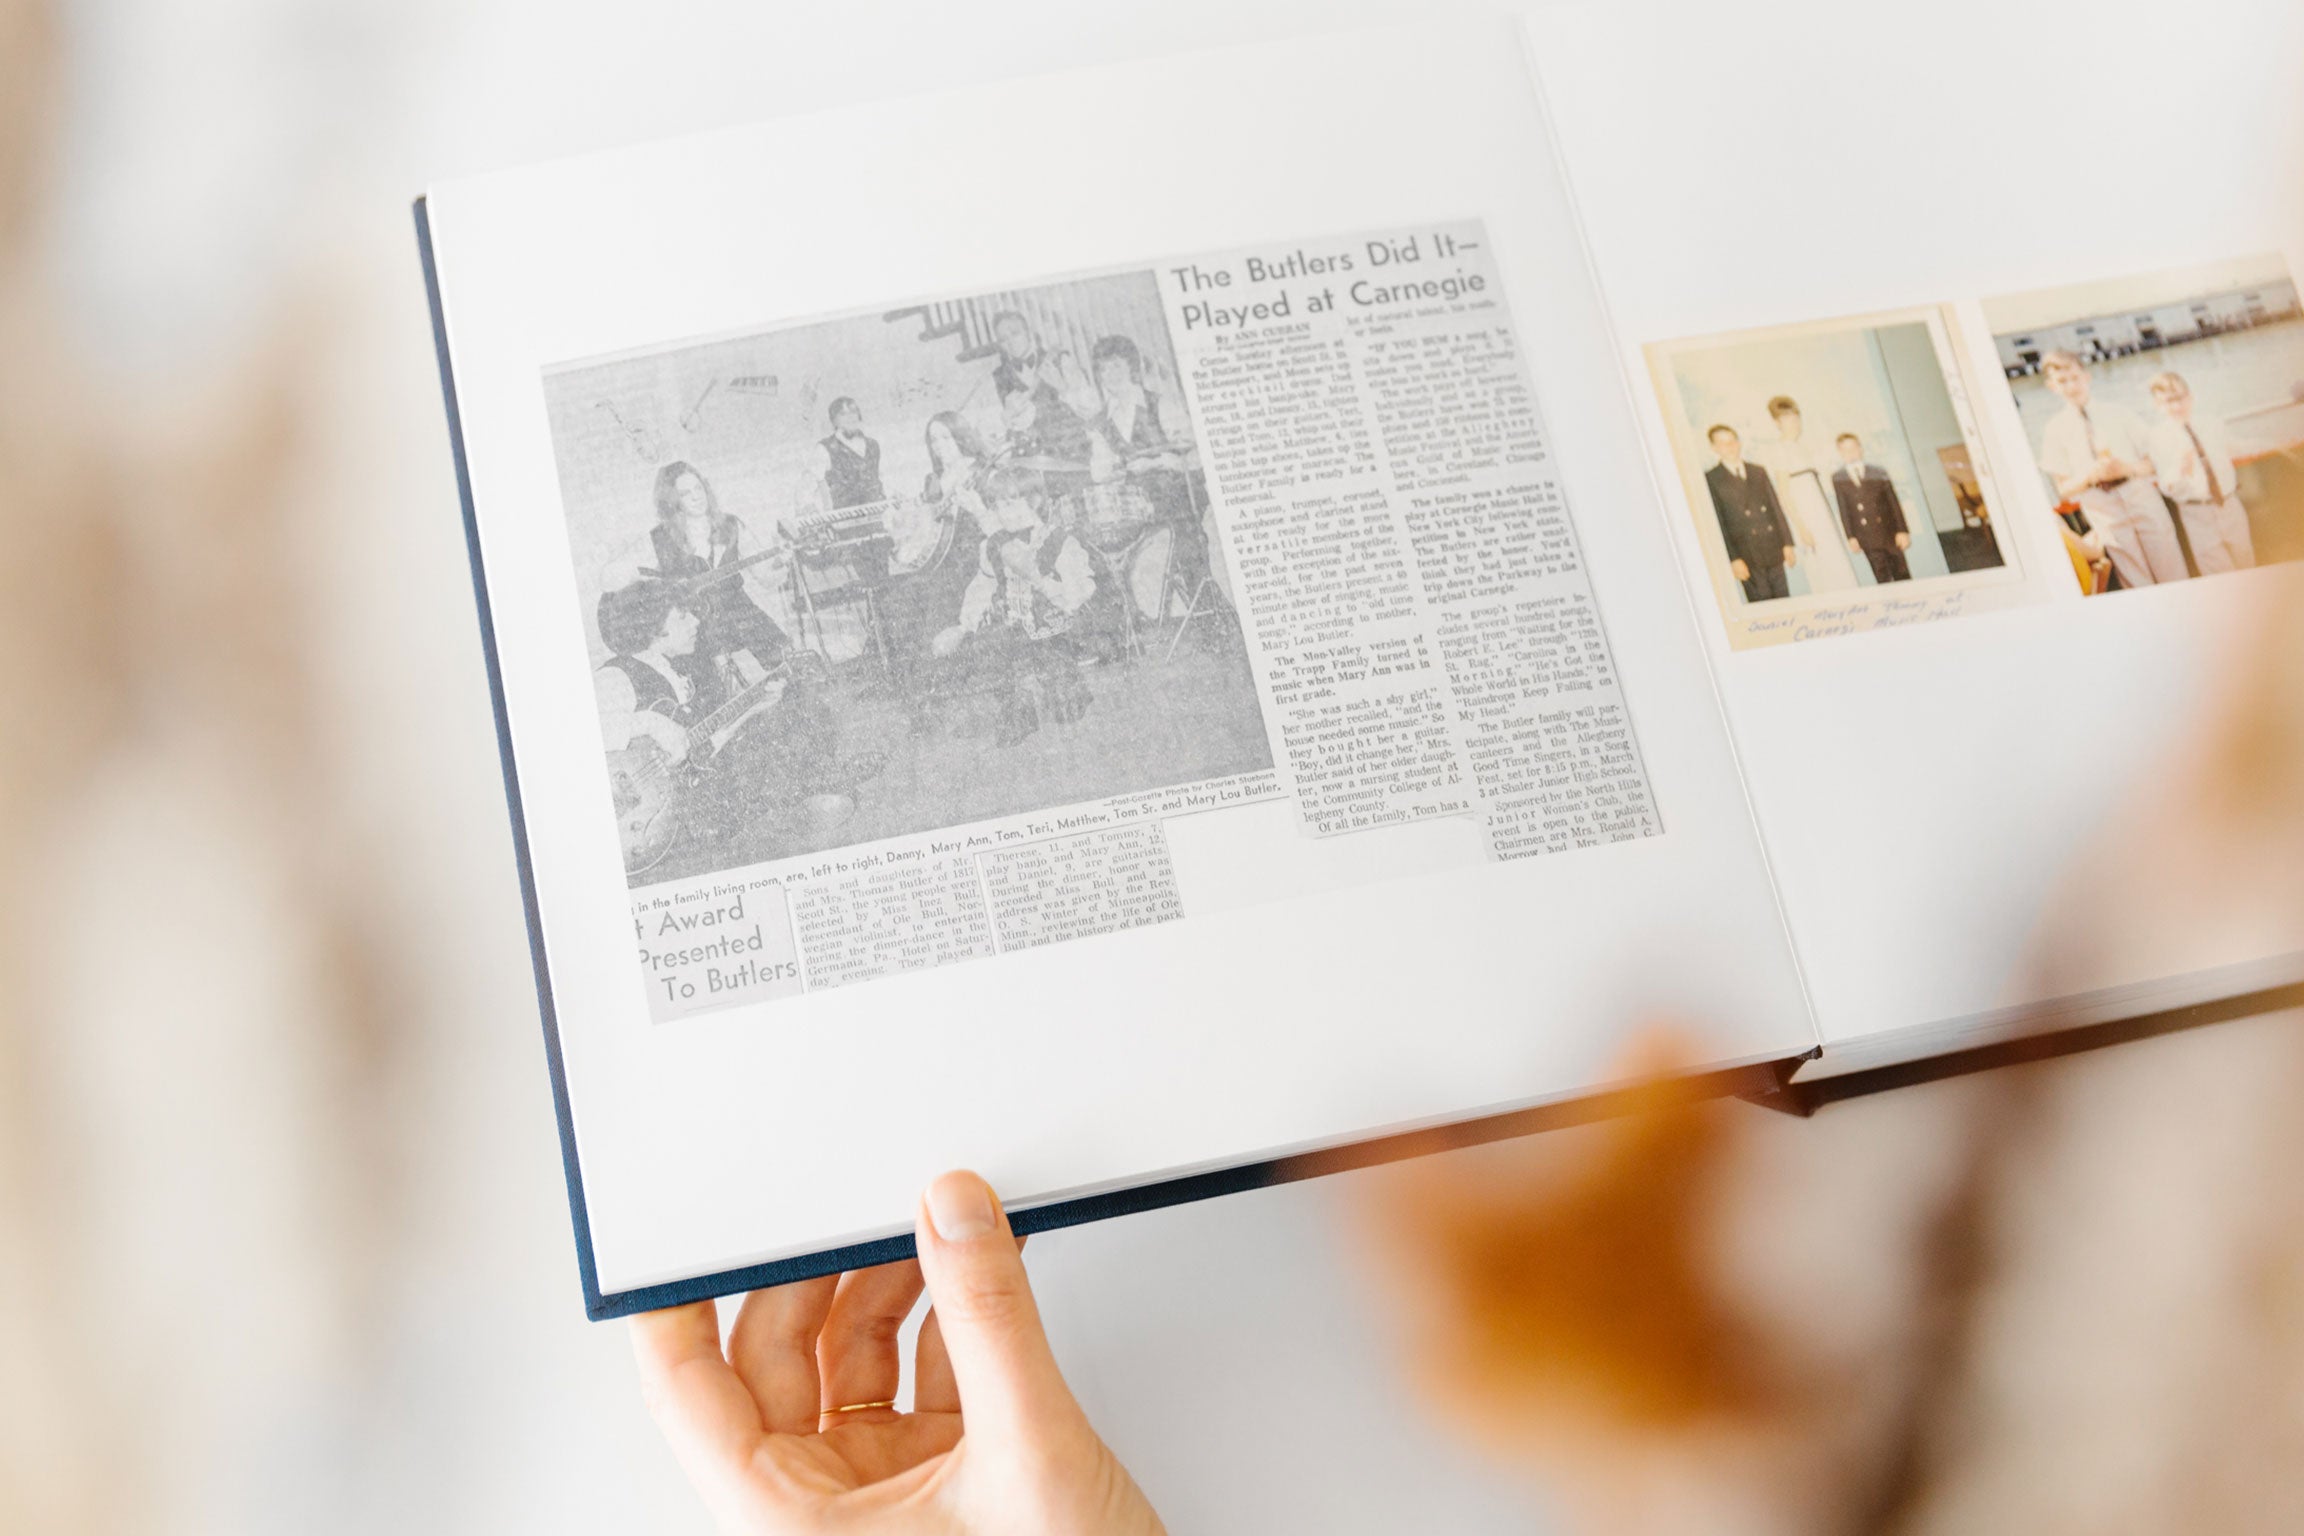
There’s so much more to compiling a family history book than pictures of people and places through time. Add variety in your visuals with copies of newspaper clippings, hand-written letters, or other accolades that help supplement the story. These artifacts add credibility, outside perspective, and a window into relationships to connect the dots.
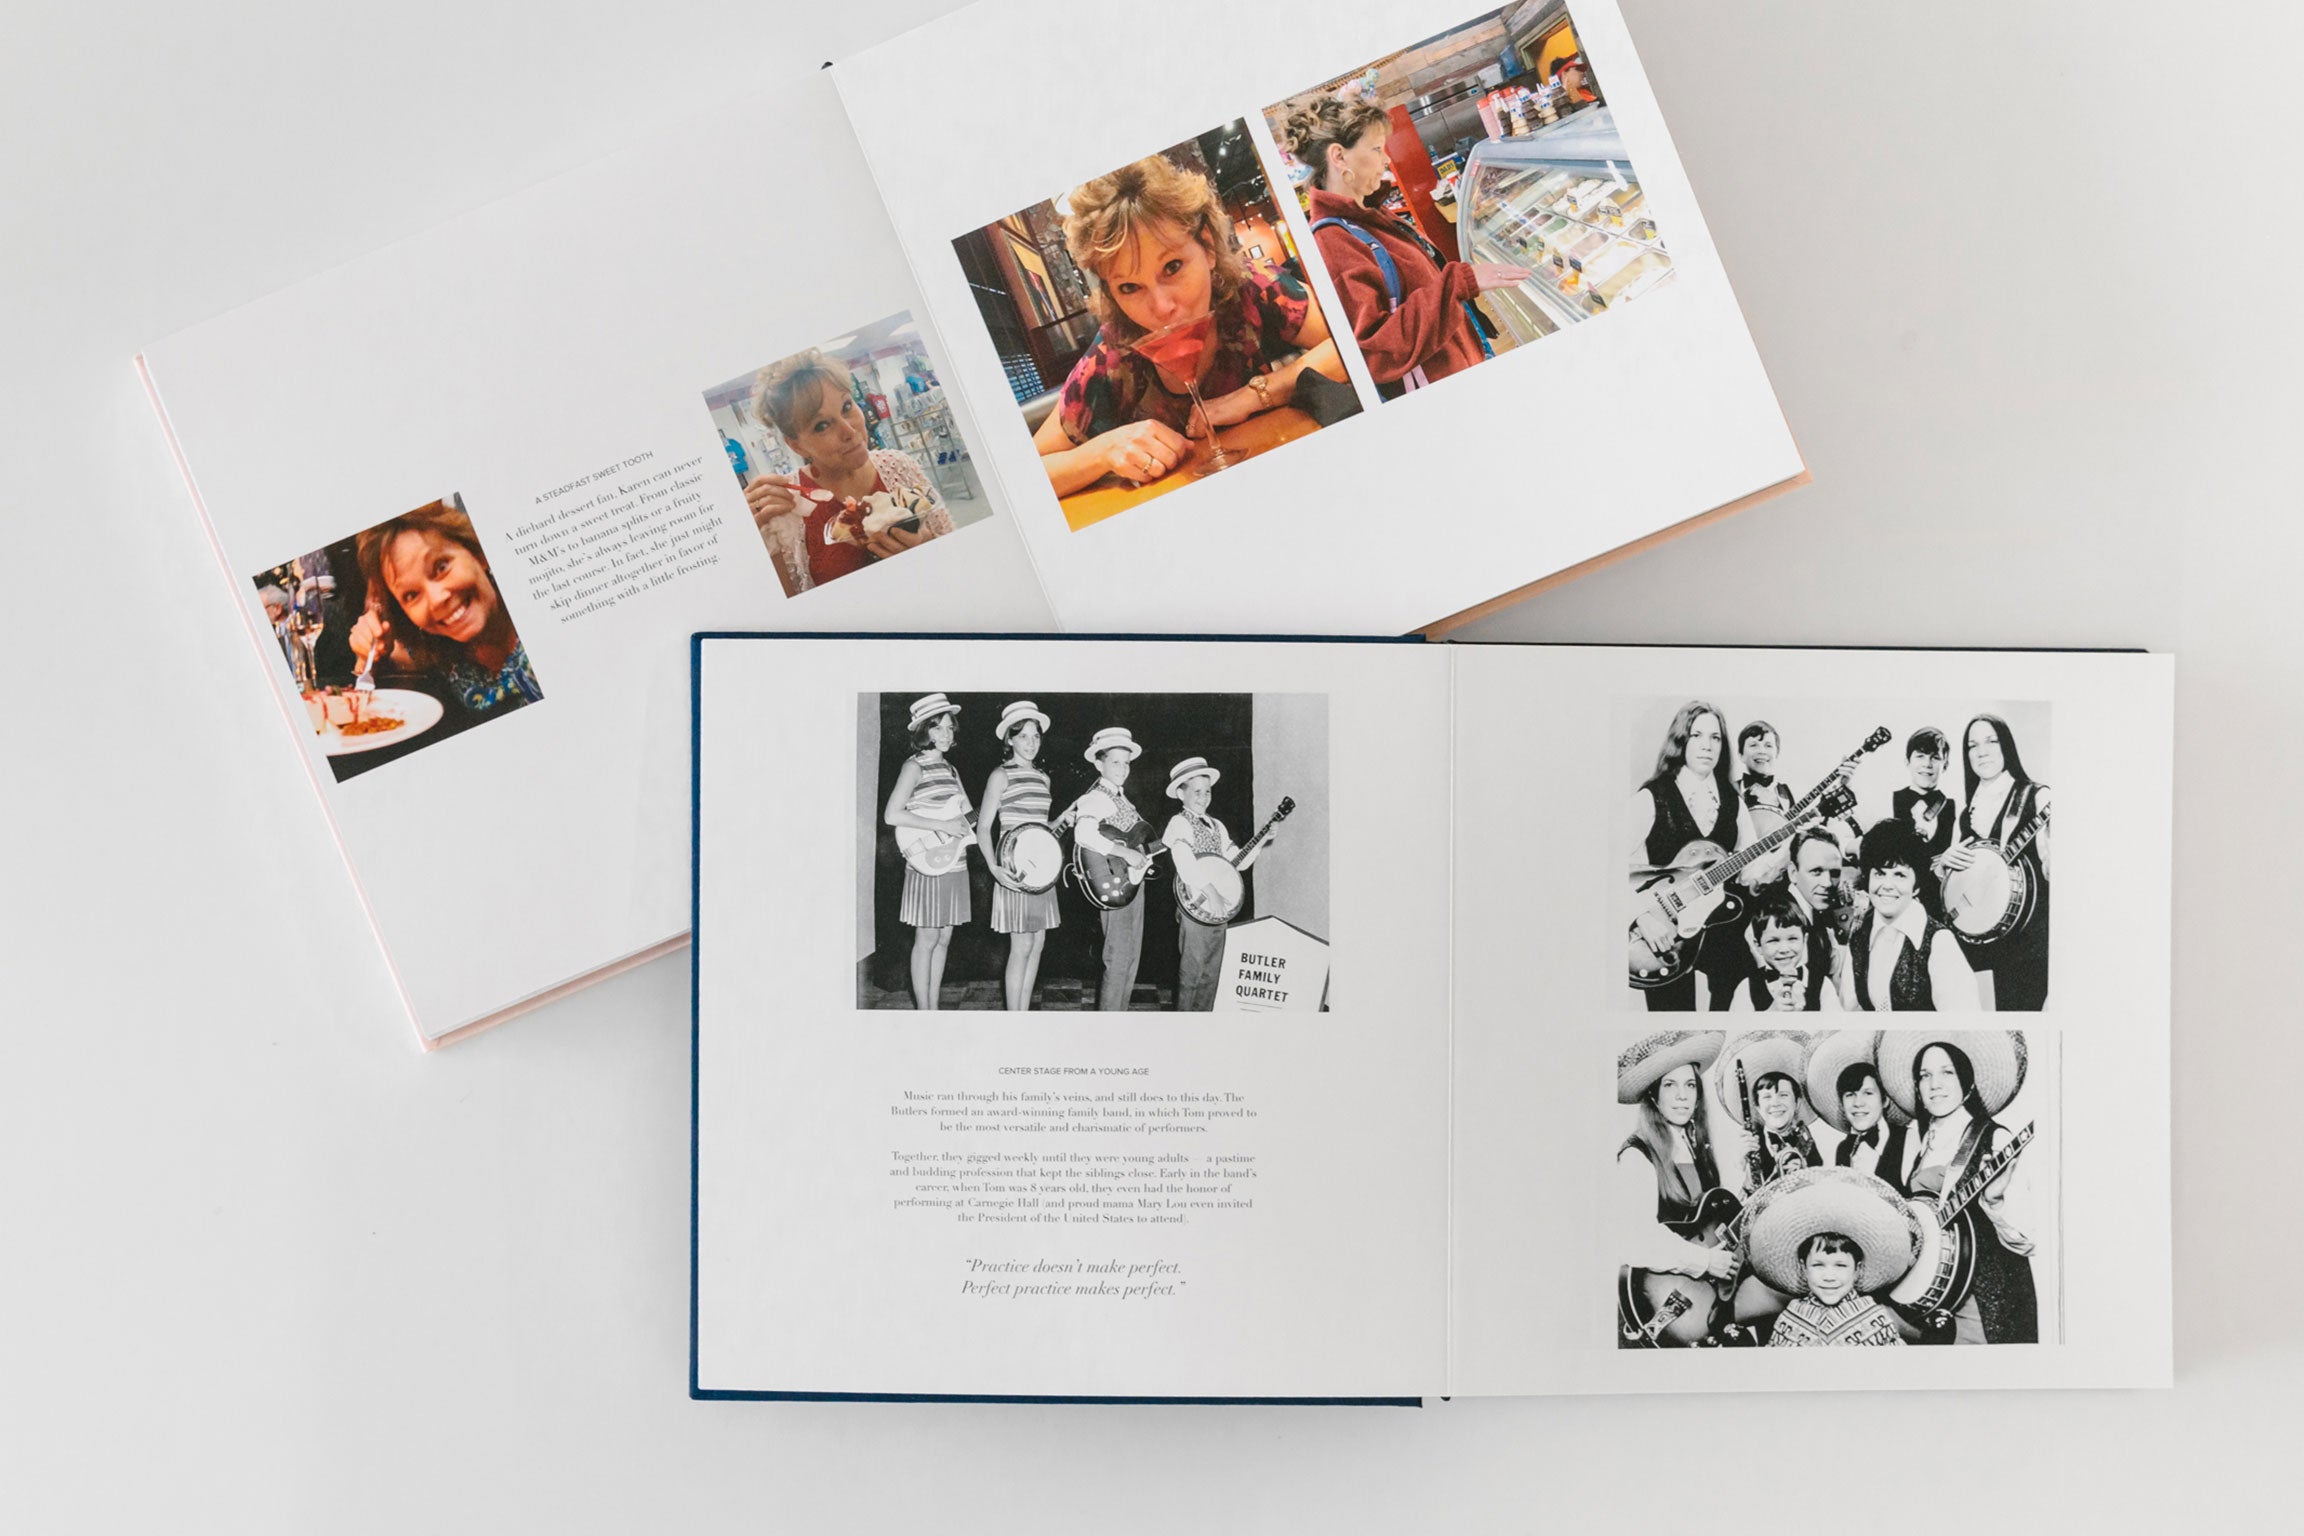
Pictured here, my father and his family band were featured in their local newspaper, right from the living room where I’ve spent so many holidays since. It was through this article that I discovered my grandmother invited the President of the United States to attend their performance at Carnegie Hall, and his office personally responded to her request. Details like this provide you with priceless context for significant events and the personalities that compose them.
TIP 06
Paint color with commentary and quotes
Was this person known for a certain quote or character trait? Many times, it’s the little things we’ll remember our favorite people by — the wise advice, the catch phrase, the organization, the shopping sprees. Give a nod to what makes them unique throughout the pages, whether with a featured quote, lyrics to the song they love, or photos of them at their truest.
In my parents’ albums, I broke from the chronological pattern to dedicate a spread with one of my favorite, well-known things about each of them. For my mom, that is her undying sweet tooth, photographed multiple times in action; and for my dad, it’s his special sense of humor, complete with his goofiest of faces that say it all.
Design tip: Much like creating visuals in Tip 03, you can also create custom text boxes in a third-party application (like Keynote, Adobe, or even Google Docs), then upload a screenshot of the text as an image. This way, you have more control over typefaces and formatting, if desired.
TIP 07
Open with a personal note or dedication
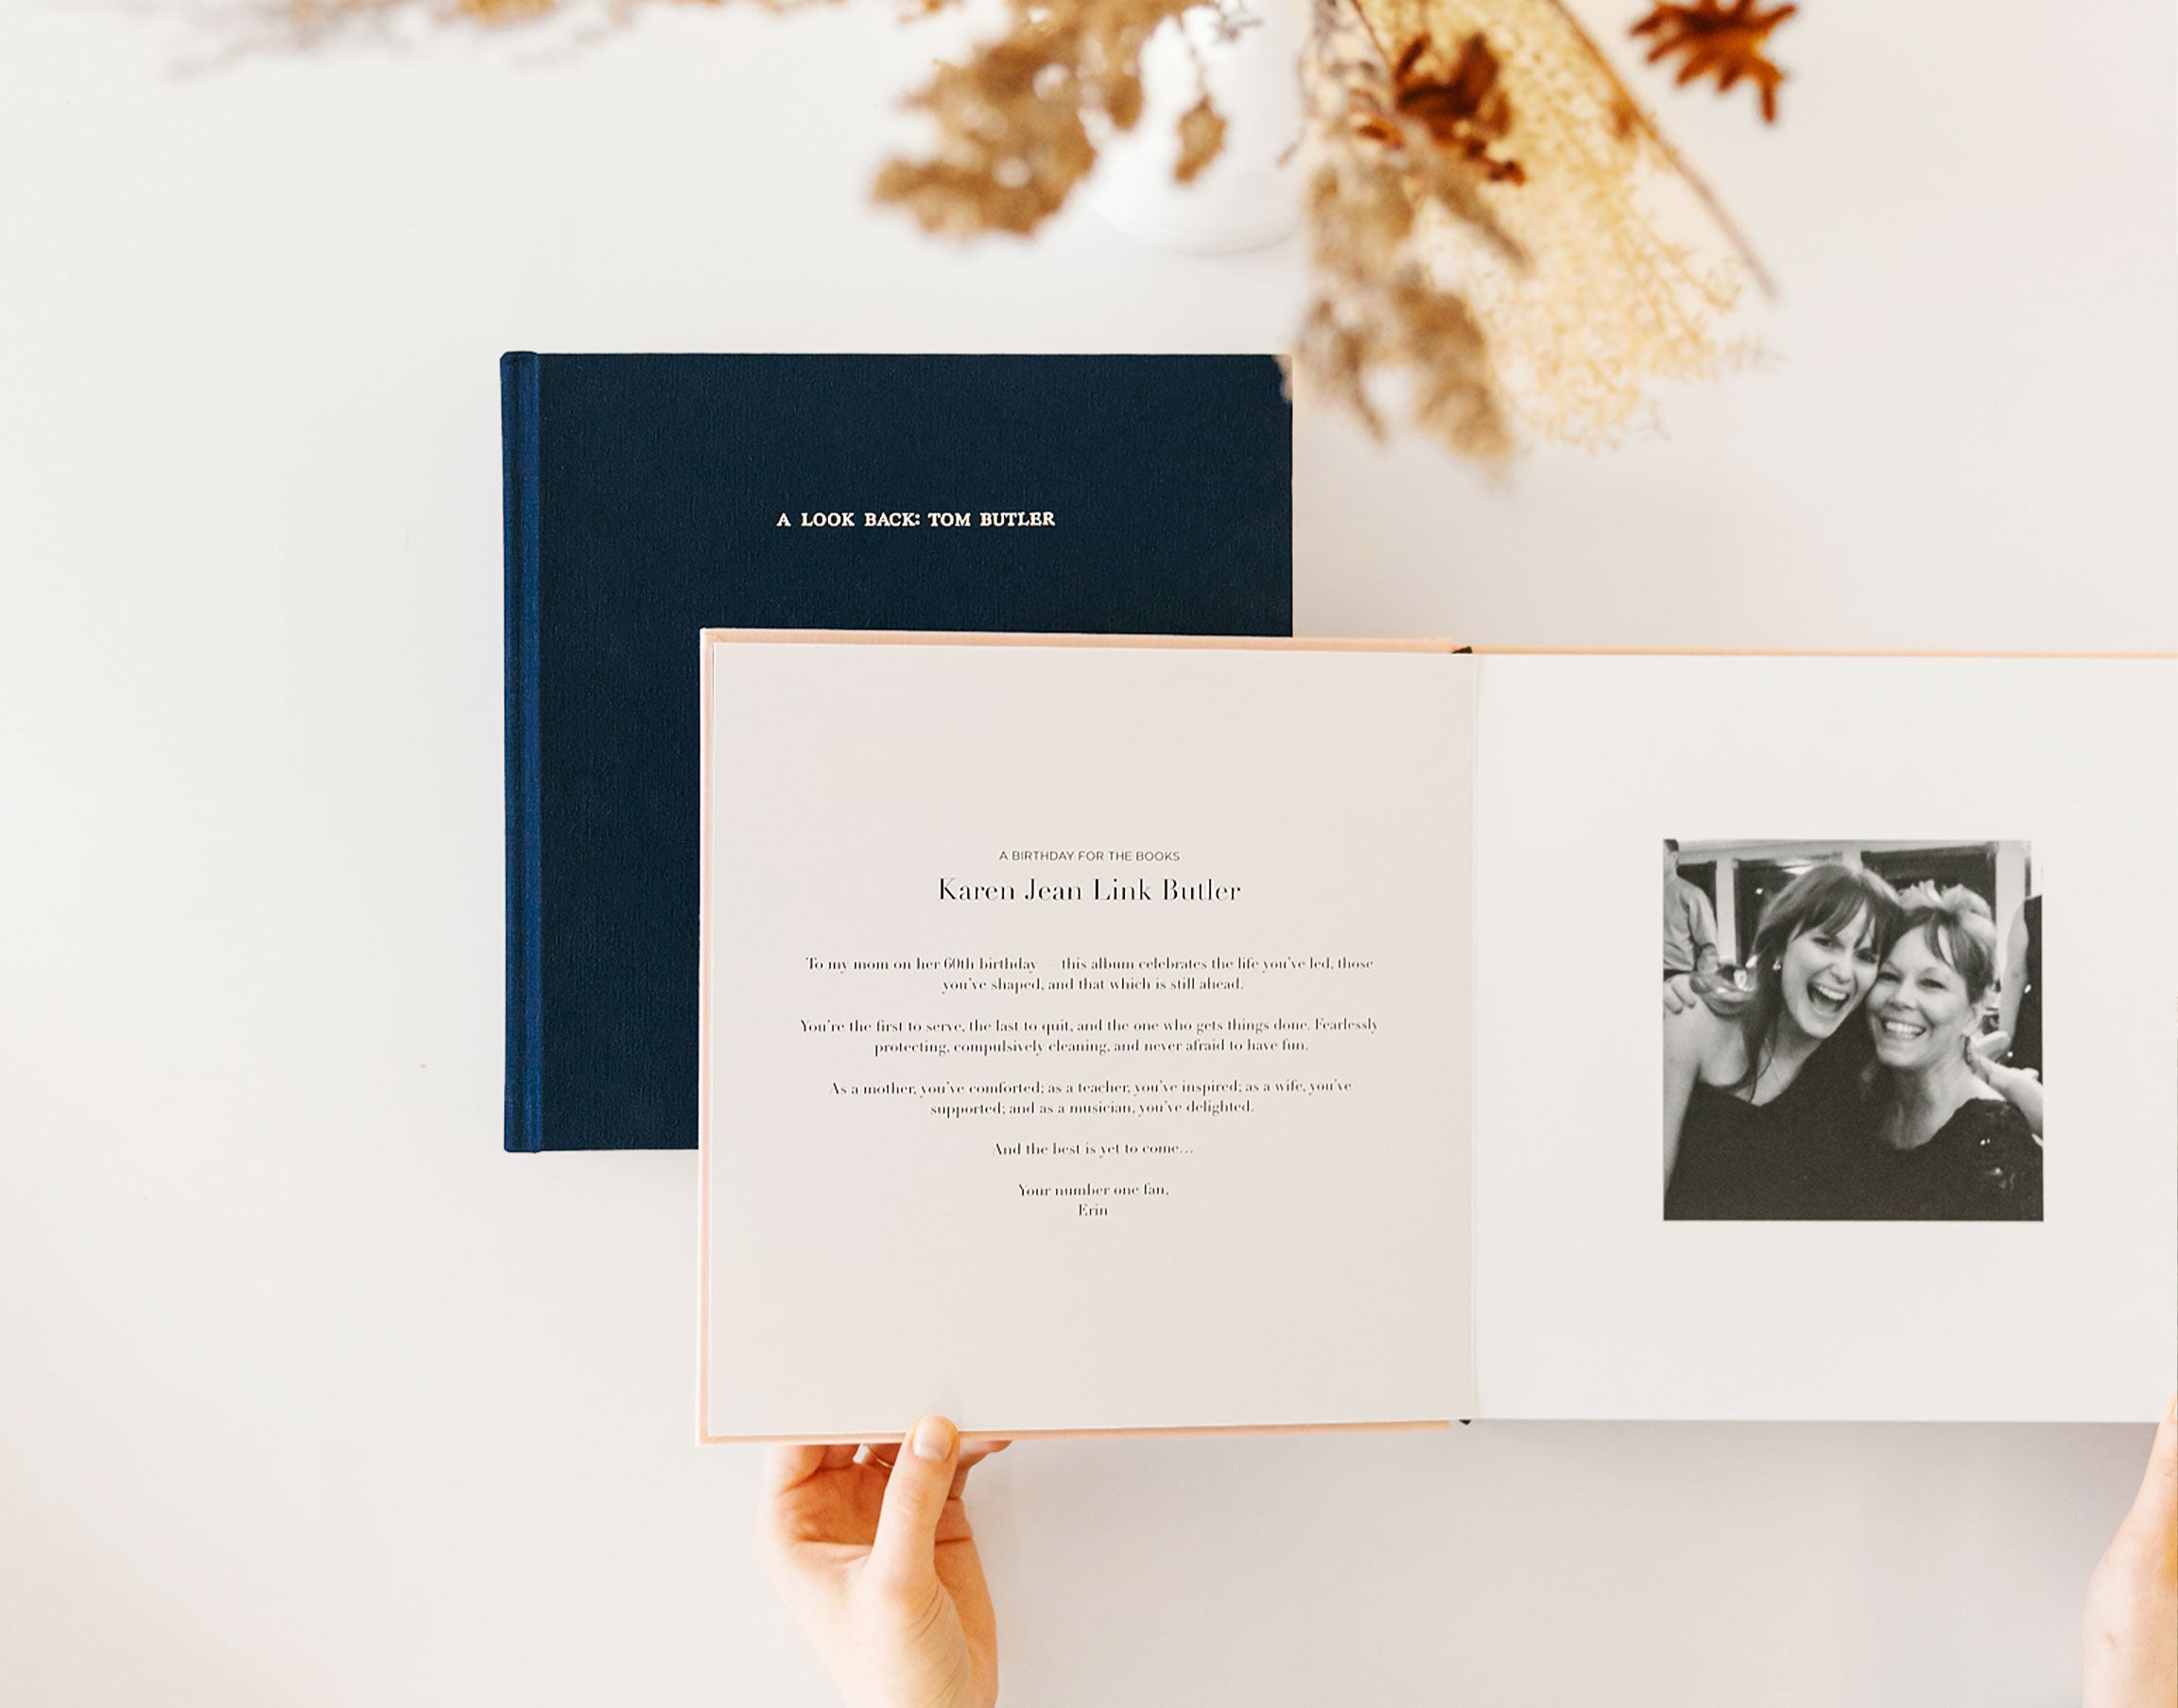
Once you’ve assembled your album, what better way to conclude its creation than with an introductory note? Save your first spread to open the album with a personal message to the recipient or a dedication that you compose after being inspired by the building journey. This forward sets the tone for the family history album, and gives any future readers a glimpse into the intention and love behind creating it.