

01 First Things First
Choose Your Photos
You’ve got your photos on your device and you’re ready to start – but where? Take some time to walk yourself through your photos, focusing on the ones that catch your eye. Thinking of your book in parts will help as you curate your photos, whether that’s sorting by month or photo subject. You can choose as few as 10 favorite photos for a stunning layflat album, or up to a few hundred in a timeless hardcover or softcover book. Dream big as you take your pick!
While you’re selecting images, be sure to check the quality and brightness of each photo. If your images look dark on your screen, they’ll probably print dark as well. Try lowering your screen brightness to around 50% to give you a better idea of what your printed image will look like. You’ll also want all of your photos to be in an sRGB color profile, so the colors will print true to what you see on your screen. If your images aren’t in sRGB, you’ll receive a color profile warning once you upload your images into the Editor. Plan ahead for a smooth upload process.
02 Prepare Yourself
Upload Photos to A Gallery
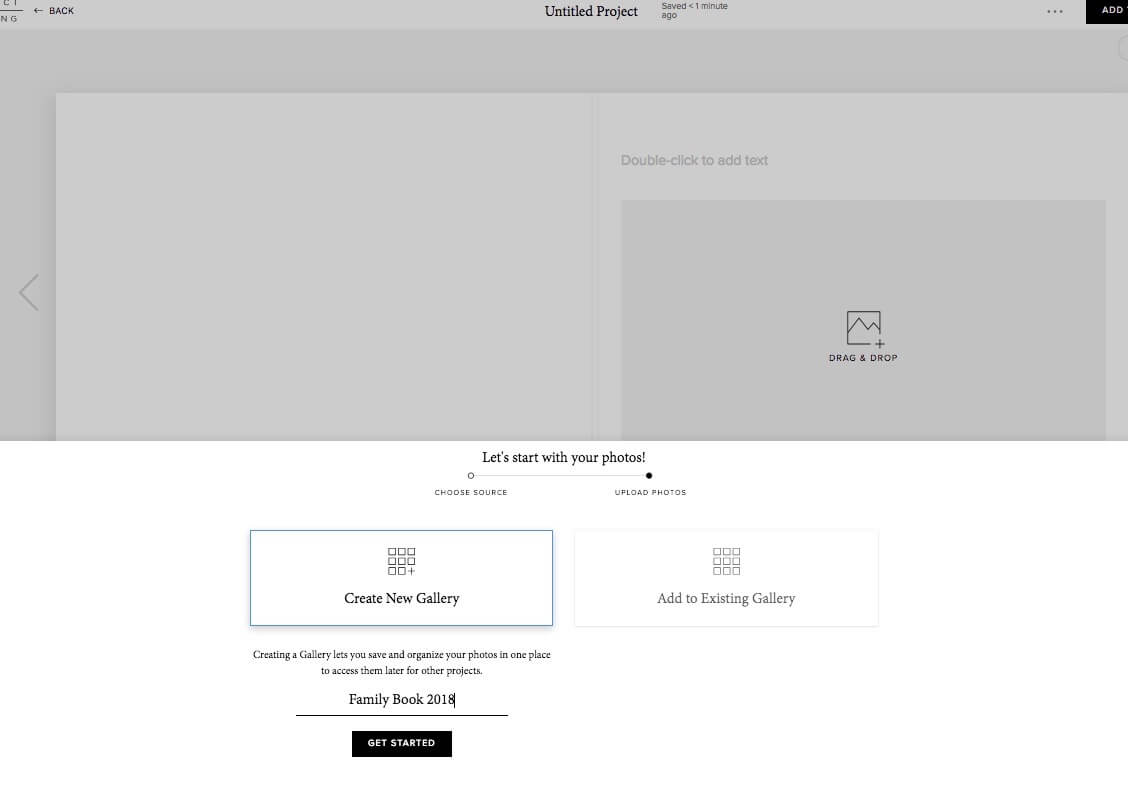
Once you’ve selected your photos, it’s time to upload. Head on over to your My Account page and pull up the project you want to create. Choose your upload source, and pick your photos from there. We suggest creating a New Gallery (the option will pop up once your photos are uploaded), because the photos will stay in your gallery for as long as you want. You can add up to 300 images to a gallery at one time. And if you’d like to sort your images a little more, rather than tossing them all in one bucket, simply create multiple galleries.
Photos not uploading? They may be too big. Photos need to be under 18 MB to upload correctly. If yours are too large, be sure to resize them before you add them to the gallery.
03 Decision Time
Pick Your Project
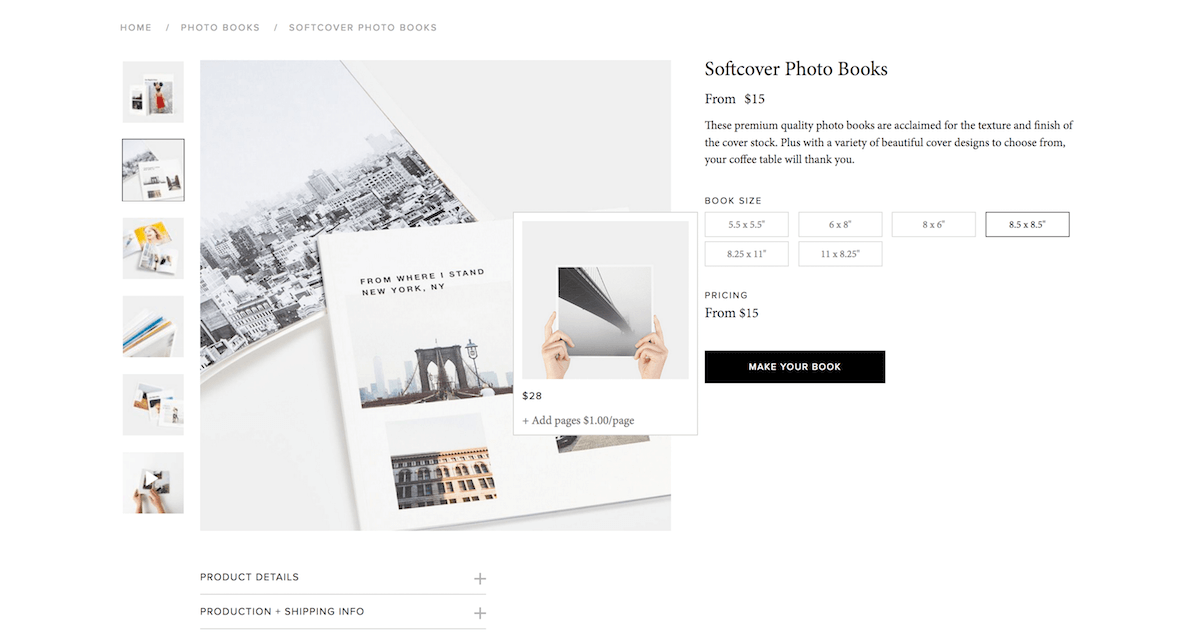
Now that you’ve selected your photos, you’re ready for the fun part: choosing the type of book you want to create. Whether you’re aiming for a coffee-table-worthy Layflat Album or a small Softcover Photo Book to share with the kids, this is your time to make your decision. If you want to see some examples, check out our product pages and idea gallery. Taking a peek at others’ creations can help jump-start your own creativity!
04 Get Comfortable
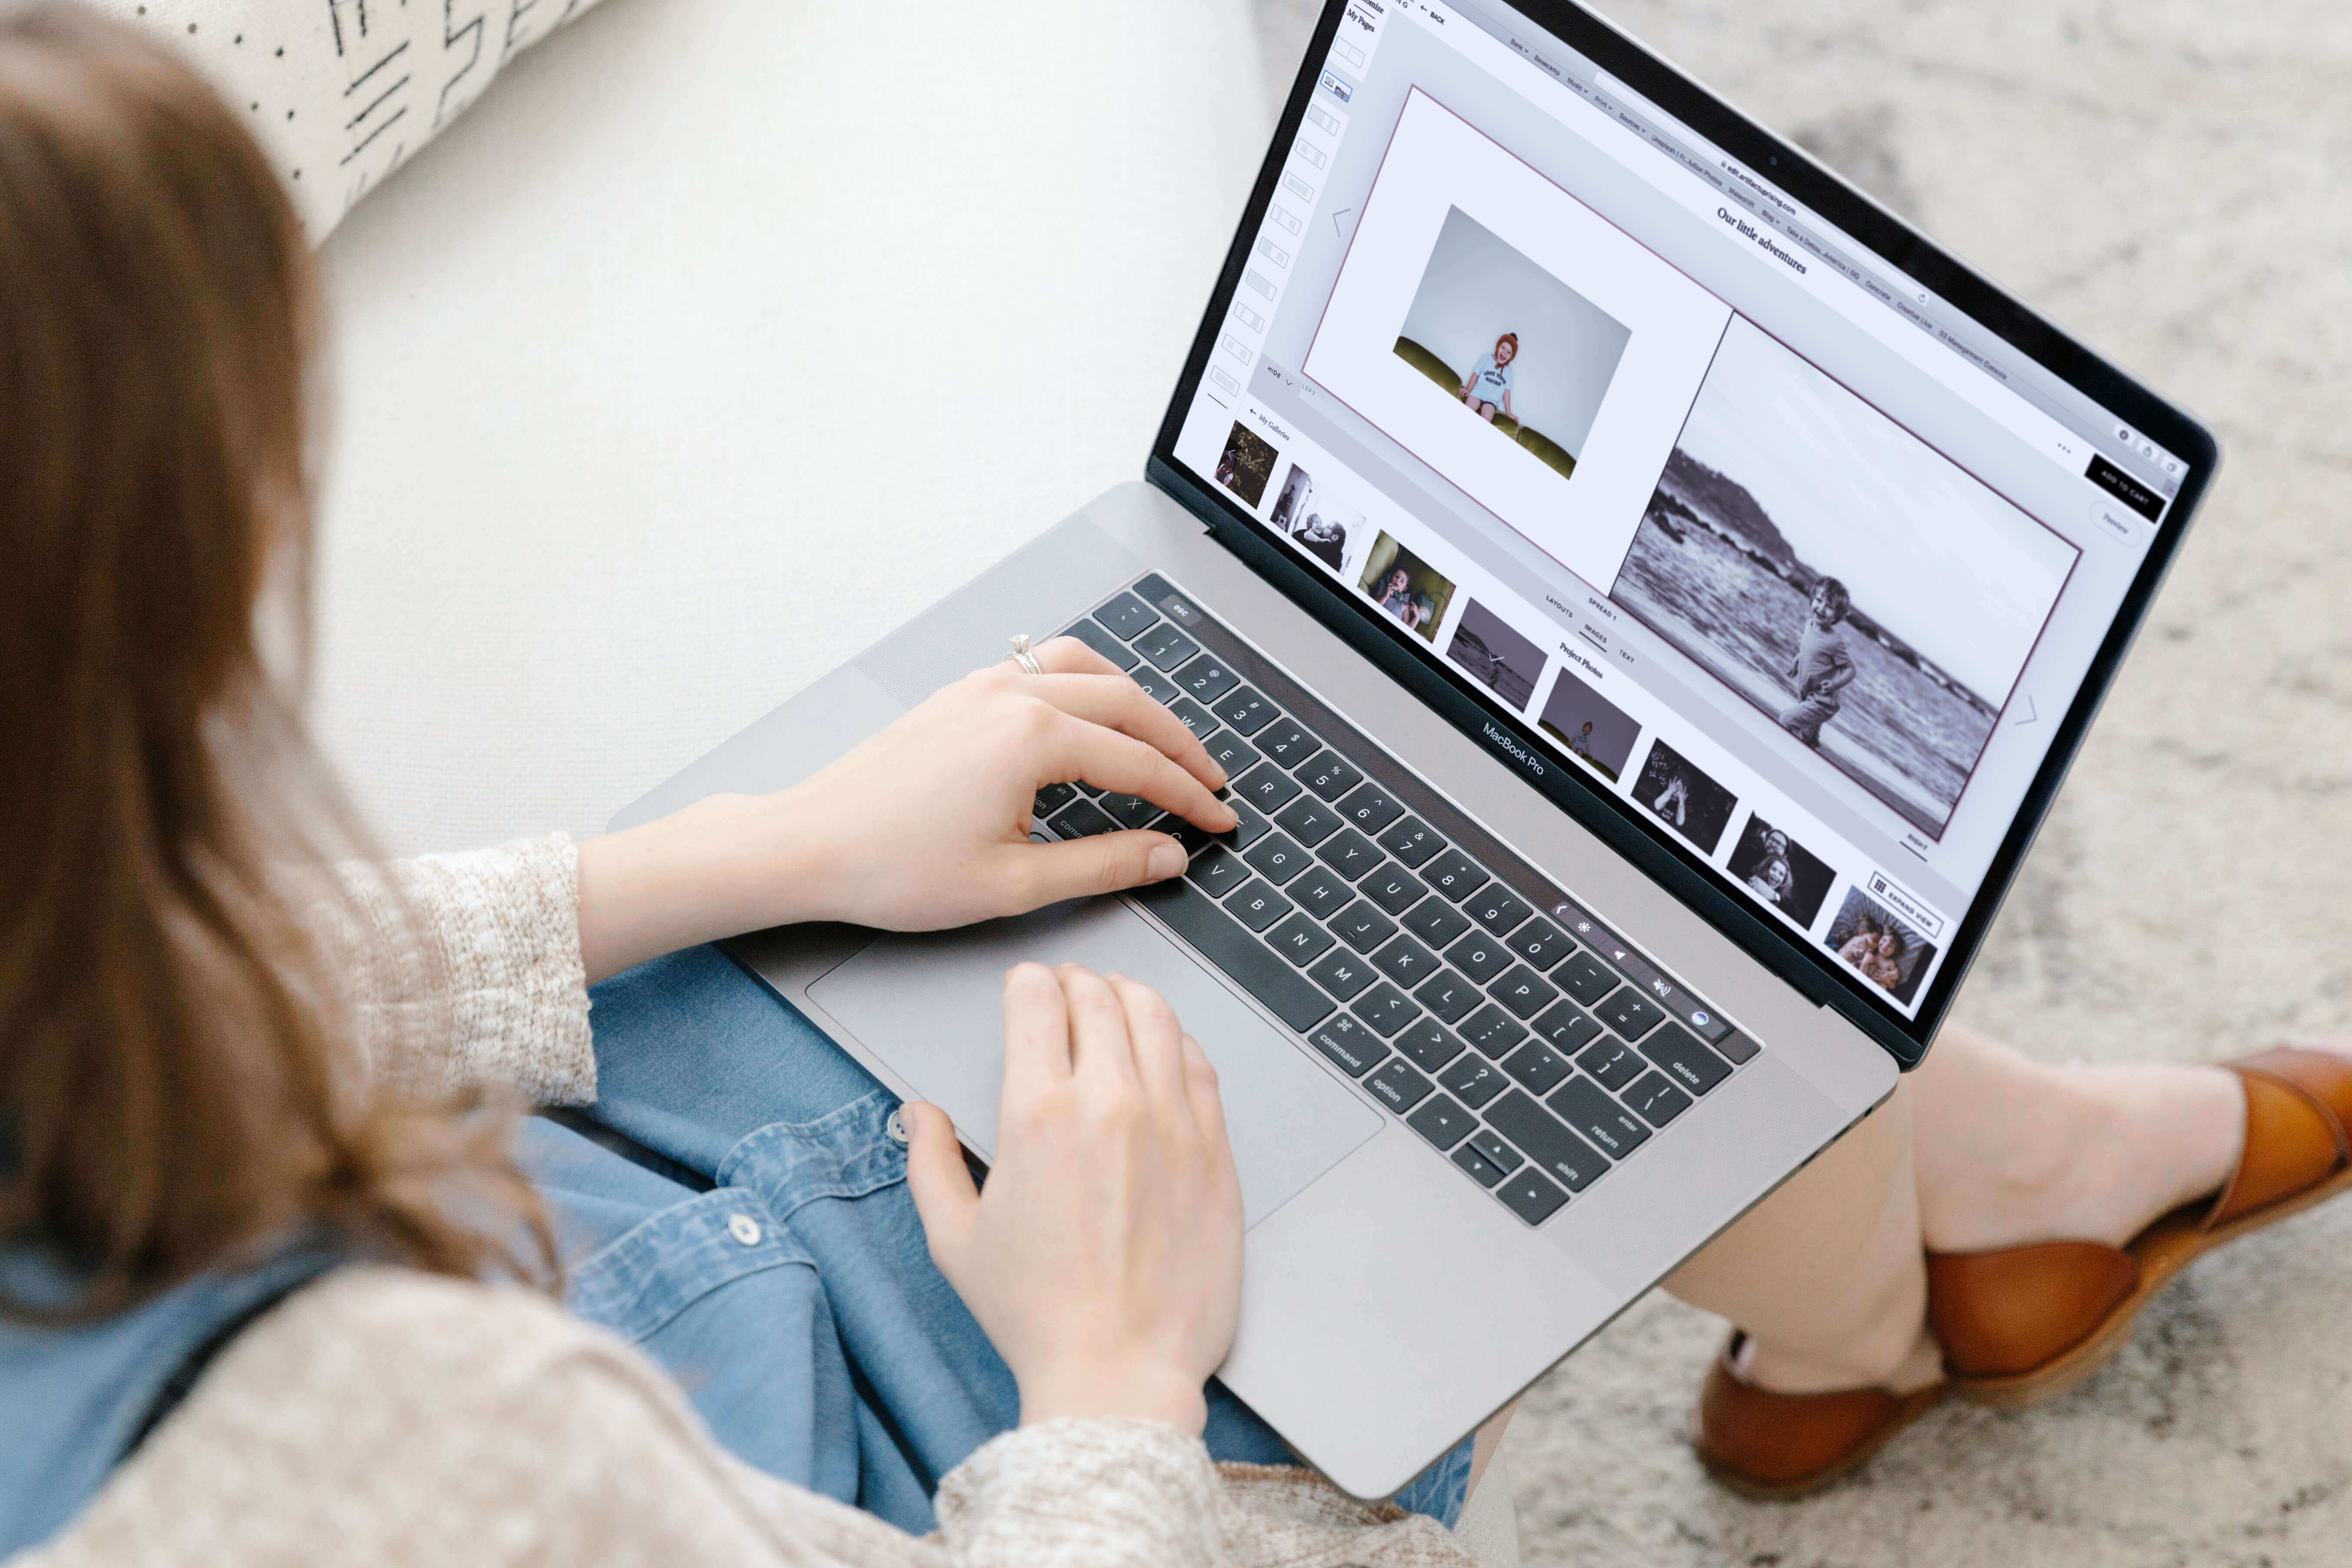
Find Your Way Around the Editor
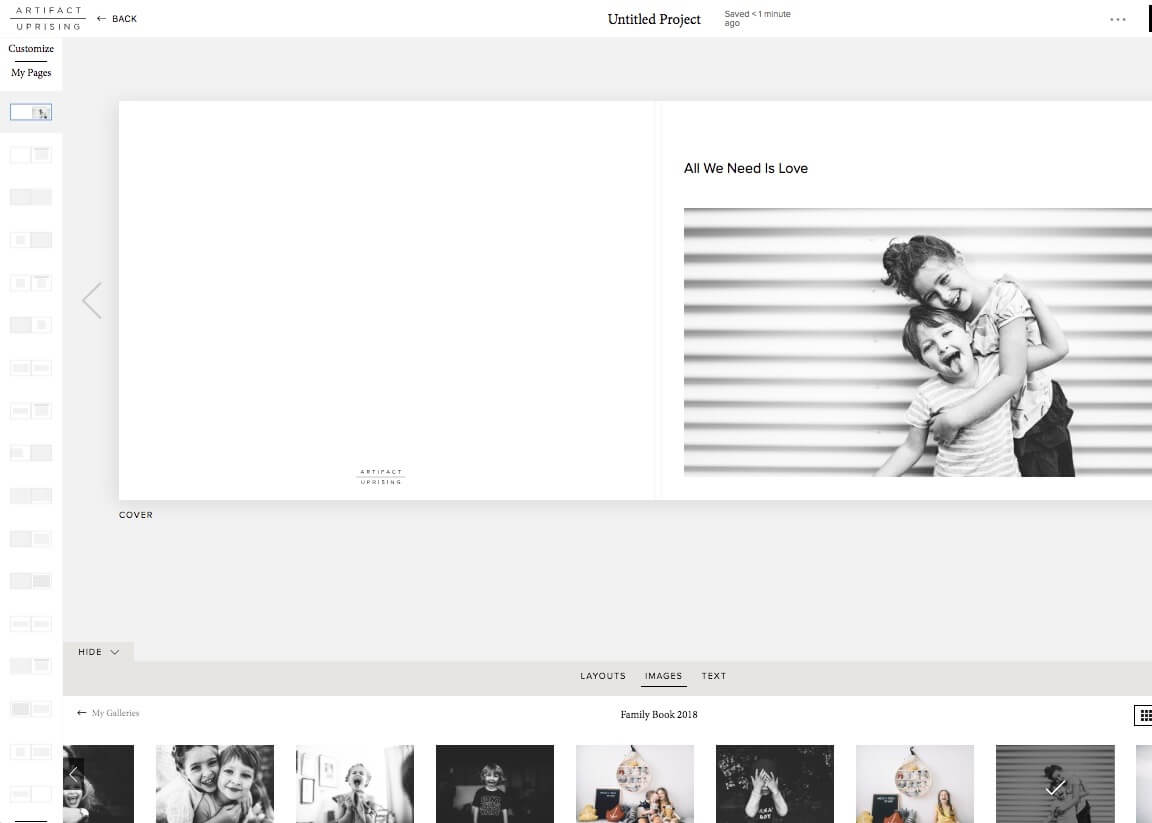
Take a pause to familiarize yourself with the Editor before you jump into building your book. The tabs on the left side are a great place to start!
- Image Tab – Add photos to your project from your gallery, and use this bottom bar to drag and drop images into your layouts.
- Layout Tab – Choose your cover design and change the layout templates you see on each page. Simply click on the desired layout to add it to the template you're on.
- Text Tab – Add a text box to any page; change the font, size, and alignment of the text; and move it wherever you’d like around the page.
- Preview Button – Gives you a bird’s-eye view of your finished pages!
05 Find Your Creativity
Choose Your Layouts & Add Photos
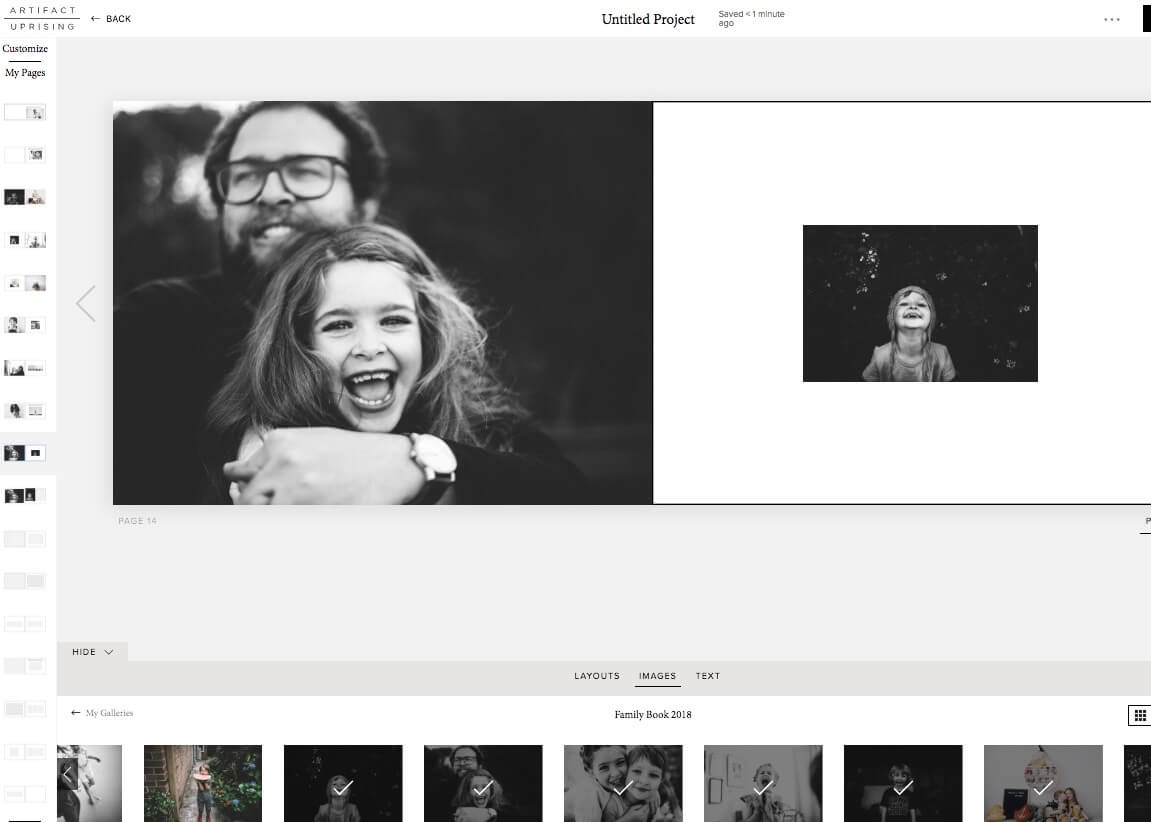
To access your photos from the gallery you created earlier, head over to the “Add Images” button and select the “Galleries” option. Click each photo you’d like to put in your project separately, or choose “Select All” and “Add Selects to Project.” If at any point you want to remove photos that you see in your image bar, just go back to the My Galleries Tab, deselect the images you don’t want anymore, and once again click “Add Selects to Project.” From here you get to experiment with putting your photos into different layouts until you’ve created pages you love! Just be sure to place a photo in every grey box so it doesn't print blank.
Wondering what that grey border around your images is? It’s what we call the trim zone — any amount of that area could be trimmed off during production. You’ll want to make sure that no important details (like words or faces) lie within that zone, and that full bleed images go all the way through it to the edge of the page.
06 Double Check
Finishing Touches
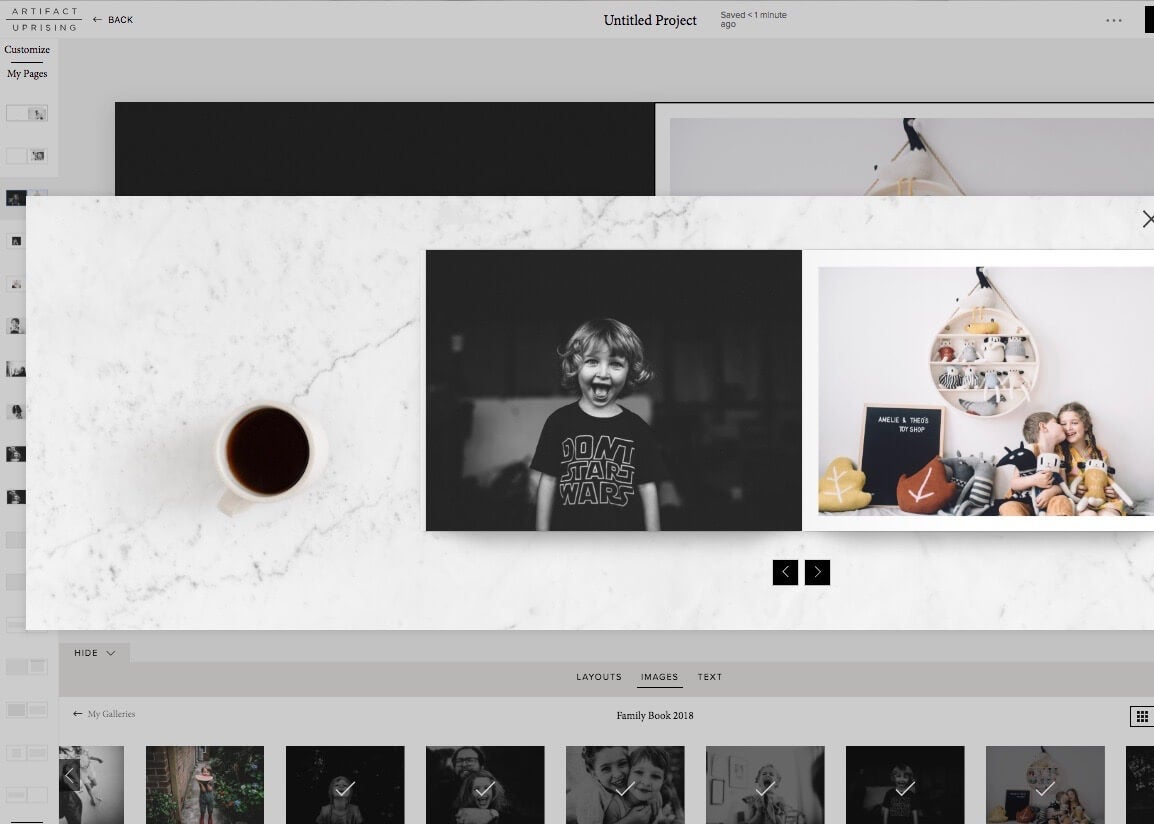
Ready to fine tune? You can click on the Preview button to get a good look at your pages, taking note of any changes you want to make. And if you see a low-resolution warning on any of your photos, that means your photo may not print quite as clearly as you’d like - you can experiment with moving the image to a smaller layout to help condense the pixels so the image prints more clearly. Don’t worry, the actual warning will not print on your photos.
Once everything looks good, you’re free to add your project to your cart and place your order!
Tip: Remember to triple check your project before you place your order – what you see is what we will print! We’re inspired by your unique perspective and creativity, so we don’t make any changes to your images or project once it’s been ordered. If you do catch a mistake after you place your order, you’ll have one hour to cancel the order to touch it up.
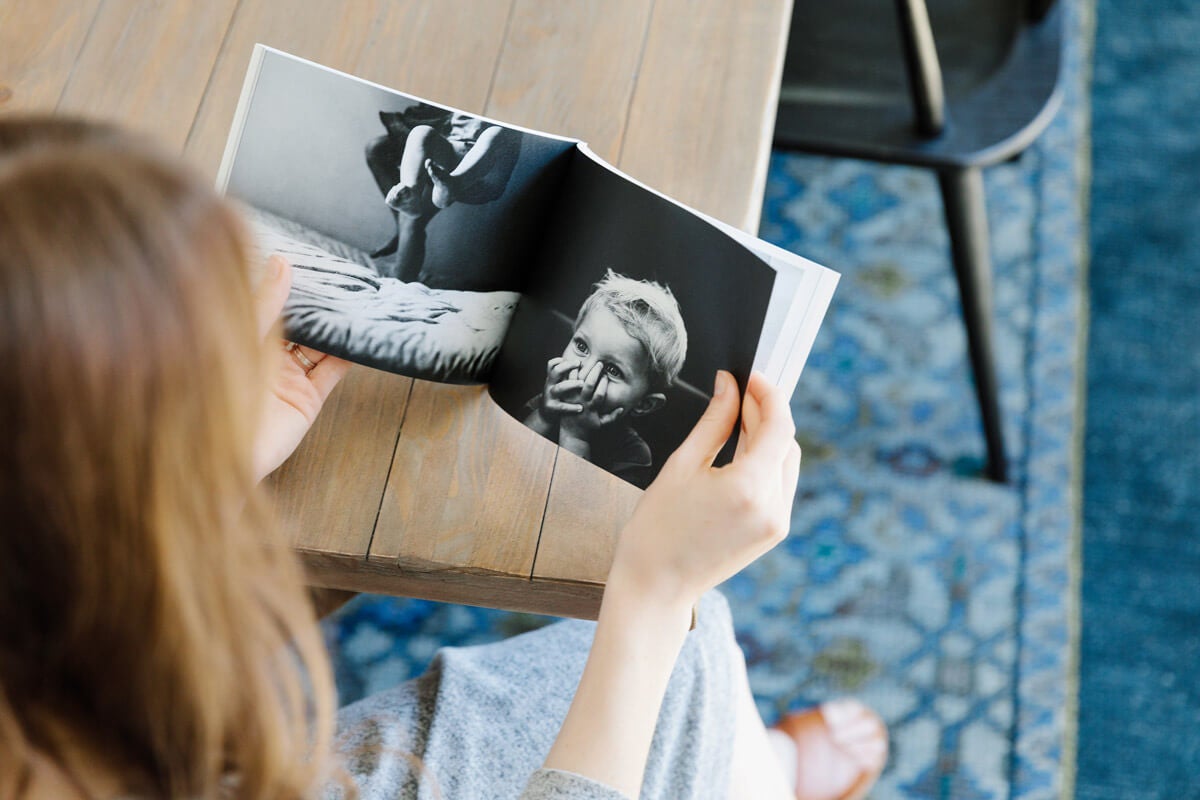
There you have it! You’ve finished your book, you’ve placed your order, and now there’s just one thing left to do — sit back and wait for a good mail day coming your way!


