Tip 01
Select Frames from Live Photos
Live Photo, an iPhone feature that produces a 3-second video clip, is a convenient feature for capturing just the right moment. This comes in handy when you'd rather not bank on a single millisecond for your photo, but instead, choose a single frame from a range of facial expressions or movements. iPhone Photos automatically selects a frame among your Live Photo "clip," but you can also manually select your own, and convert it into a stand-alone still.

How to Edit Live Photos: Pull up a Live Photo, head into edit mode, then select the "Live" icon appearing as three concentric circles. Along the bottom, you'll see a series of frames that you may slide to select your favorite. Once you tap "Make Key Photo," you may also tap the yellow "Live" button at the top to turn off the Live Photo mode, transforming your selected frame into a single image.
Tip 02
Think Bright
We're big fans of the “bright button.” Also known as exposure, this tool is the secret to making your images stand out on the screen (and in print). Because after lightening your photo, it comes to life. Be careful not to overdo it, as you risk overexposing and losing visual information in the highlights (see tip 06). Note that brightening is the foundation to base all other edits off of — and sometimes, bumping up the exposure is all you'll need.
How to Adjust Exposure on iPhone: Once in edit mode, hit the “adjust” button in your camera roll (indicated by a circular dial icon). Tap the plus/minus icon, and depending on the original darkness of the photo, drag the toggle up around 1/3 to 1/2 of the way.
Tip 03
Create Contrast
Contrast brings depth into your photograph and illuminates the details. At its core, this effect darkens your shadows and highlights the rest. It can be a powerful tool, so as with all iPhone editing tips, apply it little by little until you get the desired outcome.

How to Change the Contrast on iPhone: Follow the same steps above to get into editing mode. Under the adjust section, you will find the “contrast” option with a half-filled circle icon. Play with the sliding scale just enough to make your photo pop (we suggest around halfway).
Tip 04
Crop It
Cropping changes everything: It draws the eye into the image, emphasizes the details of a scene, and cuts out the distractions. Want to remove the busyness from an image? Create space? Highlight one part? Crop it. It's a sure way to add an artistic element to your image, and it creates focus immediately. To learn how to achieve this while taking the photo, visit our guide to the Rule of Thirds.

How to Crop Photos on iPhone: In edit mode, hit the square button on the left-hand side, then drag the edges to crop just as you want it. Pro tip: try a few variations (cropped in tightly, cropping out different objects, etc.) to see what you like best.
Tip 05
Enhance Colors
Saturation, or intensity of colors, affects how vivid or muted they appear in your photo. The key to editing saturation is to make smaller incremental adjustments to simply enhance or even mute the colors, while keeping them realistic to what your eye truly saw. This is the case with any effect when learning how to edit photos on iPhone — start small as to avoid over-modifying.

How to Change Saturation on iPhone: Enter edit mode and head to the "adjust" tab, indicated by the round dial icon. Scroll right to the solid rainbow circle icon indicating saturation, and adjust the sliding scale to either mute your colors for a calming effect, or make them more vivid to bring the photo to life.
Tip 06
Adjust Highlights
The areas in your photo with the most light hitting them are known as the "highlights." If those spots have lost detail due to overexposure, or oppositely, appear too dim, they could benefit from from highlight adjustment.

How to Adjust Highlights on iPhone: In the "adjust" tab within edit mode, scroll right to the circle icon with lines and solid white filling. From there, move the sliding scale to the right to increase or left to decrease the exposure in your photo's lightest areas.
Tip 07
Fine-Tune Shadows
Opposite of highlights, shadows are the areas in your photo with the least amount of light exposing them. These spots may lack visual detail if they are too dark, or may lack contrast if they are too light compared to their surroundings. With the right balance, the intensity of shadows can lend to more depth and dimension in your photo.
How to Fine-Tune Shadows on iPhone: Again in the "adjust" tab of edit mode, scroll right to the circle icon with solid black and lined filling. Use the sliding scale to lighten (to the right) or darken (to the left) any shady spots, paying careful attention not to let shadows overtake any faces present in the photo.
Tip 08
Apply Filters
For an easy, one-stop edit on any photo, filters serve as a convenient option. There are nine default filters in the iPhone Photos app, ranging from vivid to monochrome, and applying them is easy. One nice thing about applying filters is that this action is "nondestructive," meaning it simply adds an effect overlain on your photo without changing the makeup of the original file itself. This allows you to remove or edit it within that same app later!
Looking for more preset variety? There are several apps you can download to expand your filter options, including VSCO. (Head right this way for our VSCO editing tips.)
How to Use Filters on iPhone: Look for the icon of three interlocking circles in edit mode, scroll horizontally along the filter options, and tap to select it for the current photo. If the filter effect you've selected is a little too pronounced, you may use the sliding scale indicator underneath the filter to adjust its intensity downward (right to left) for subtlety.
Tip 09
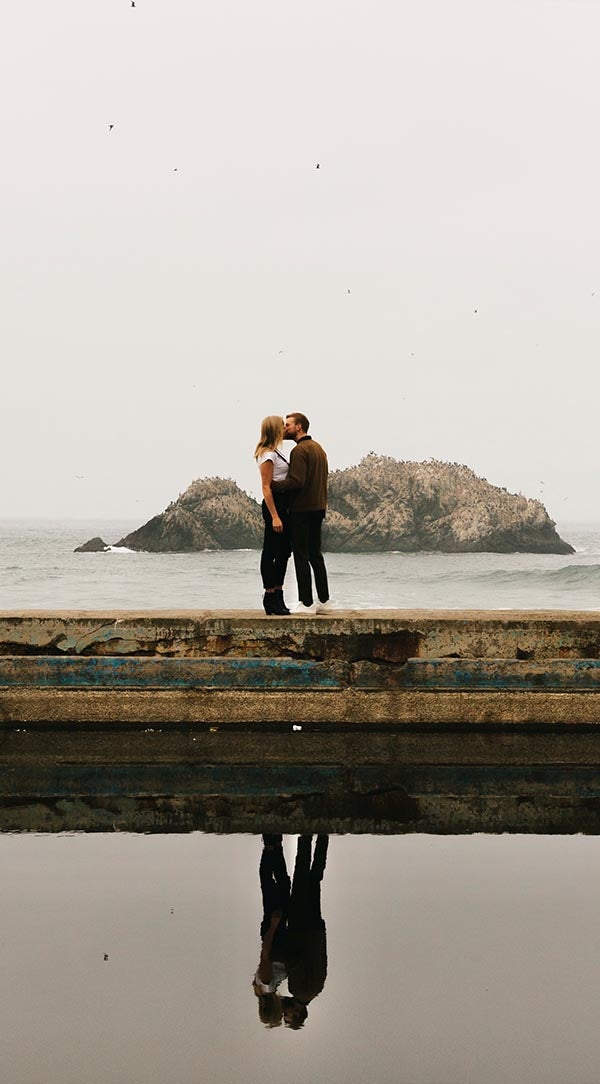
Act Natural
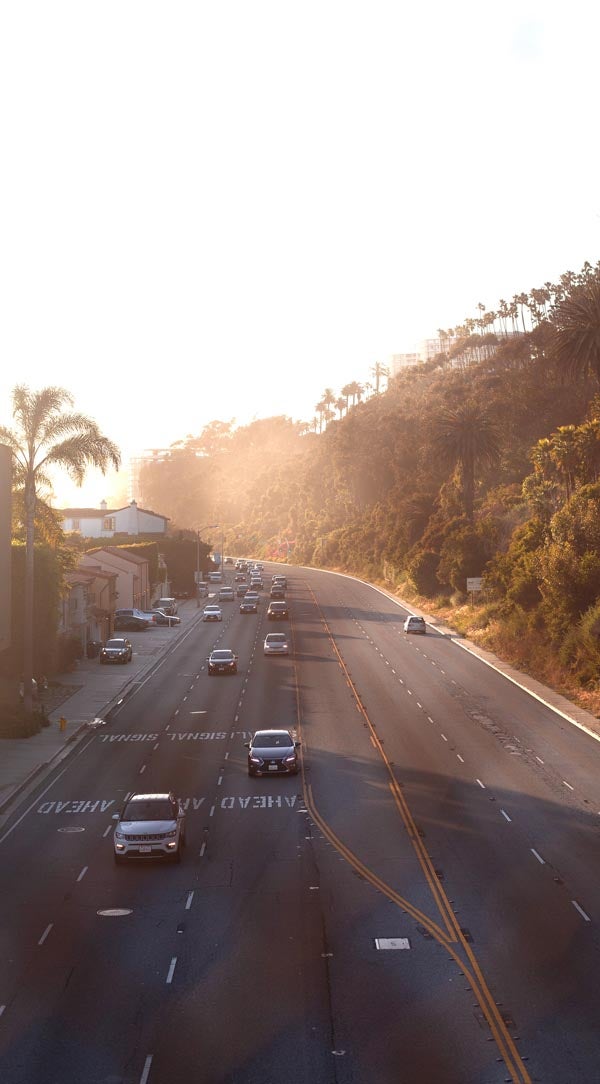
No matter what tools and effects you use for your photo, remember one thing: keep it natural. Whether it be applying a filter, focusing on one color, or desaturating another, think back to what you saw when you took the photo — how the sun reflected off the building, how blue the ocean was. Editing can feel like trial-and-error to find the right match for what best represents the moment as it truly appeared. But all these subtleties will add up to a photo that takes you back every time.
.gif)
How to Achieve on Your Native iPhone Camera App: When editing, you can always tap on the photo to catch a glimpse of the original and visually compare where you've taken it. Sometimes, this grounding perspective may inspire you to start from scratch, which you can always do by tapping "revert." Learning how to edit pictures on iPhone is an art, so remember to be patient with yourself and your camera roll.

%2B2.jpeg)