


Five VSCO Recipes We Use on Our Own Photos
Recipe 01
People
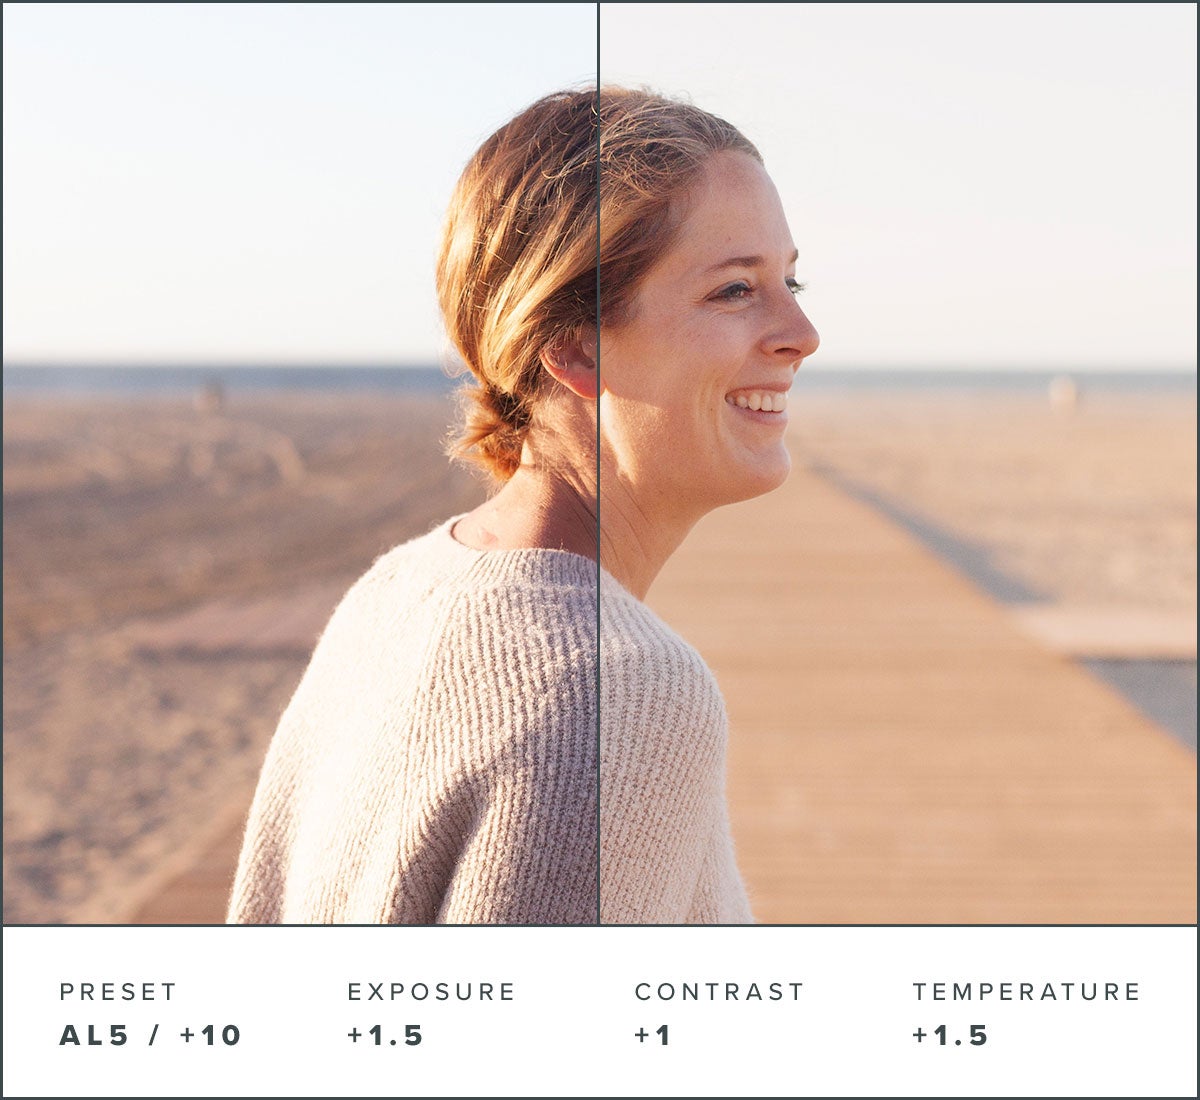
When editing shots where people take the focus, it's all about creating even, warm, and natural skin tones. That means creating an effect that feels organic, as opposed to doctored or unnatural. That's why we turn to the AL5 preset with a few subtle tweaks. Start by turning up the Temperature within the White Balance tool to capture the natural warmth that gets lost in the lens. Then, use the Tone tool to increase Highlights and recover detail in bright areas of your image. Finish off your edit by fine-tuning the Exposure. This creates definition while simultaneously adding smoothness and giving skin that natural glow.
(Psst…. start with a great image by following these tips for photographing people!)
Have the VSCO app on your phone?
Tap here to go straight to the preset.
Recipe 02
Landscapes
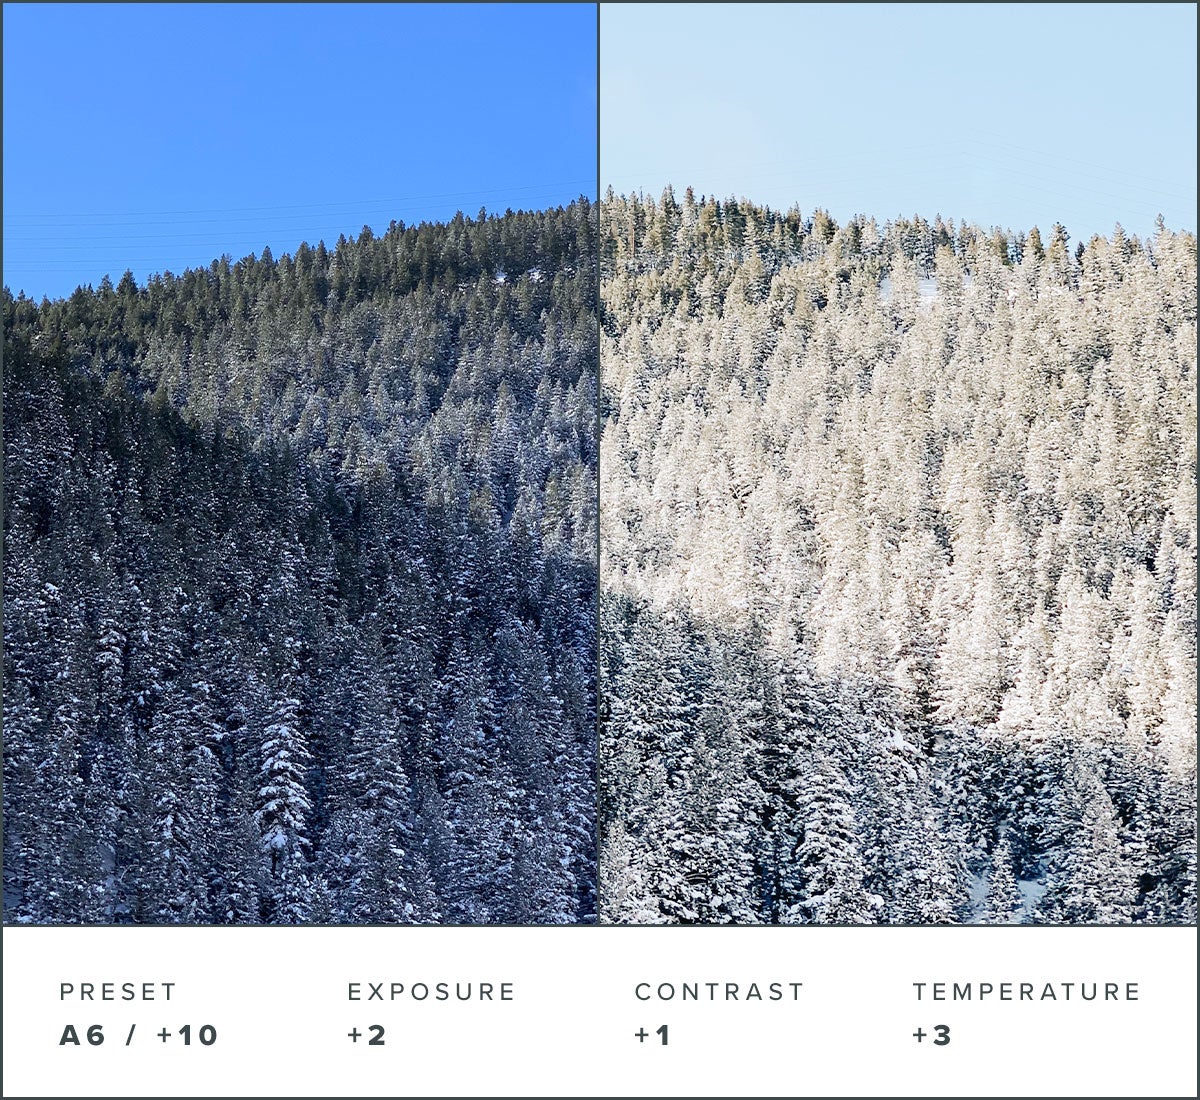
From the purple mountain majesties of our home state, Colorado, to the vast expanses of ocean that foster our connection to the coasts, some small edits are all it takes to give mother nature her due. Oftentimes, it's a simple matter of creating higher Contrast in shadows to add depth and define natural features, creating smooth and seamless highlights by bumping up the Exposure, and using the White Balance tool to increase Temperature (this will offset the deep blue tones). Start with the A6 preset, making the simple adjustments above to dial it in for the great outdoors.
To capture an image you can't wait to edit, follow these landscape photography tips.
Have the VSCO app on your phone?
Tap here to go straight to the preset.
Recipe 03
Black and White
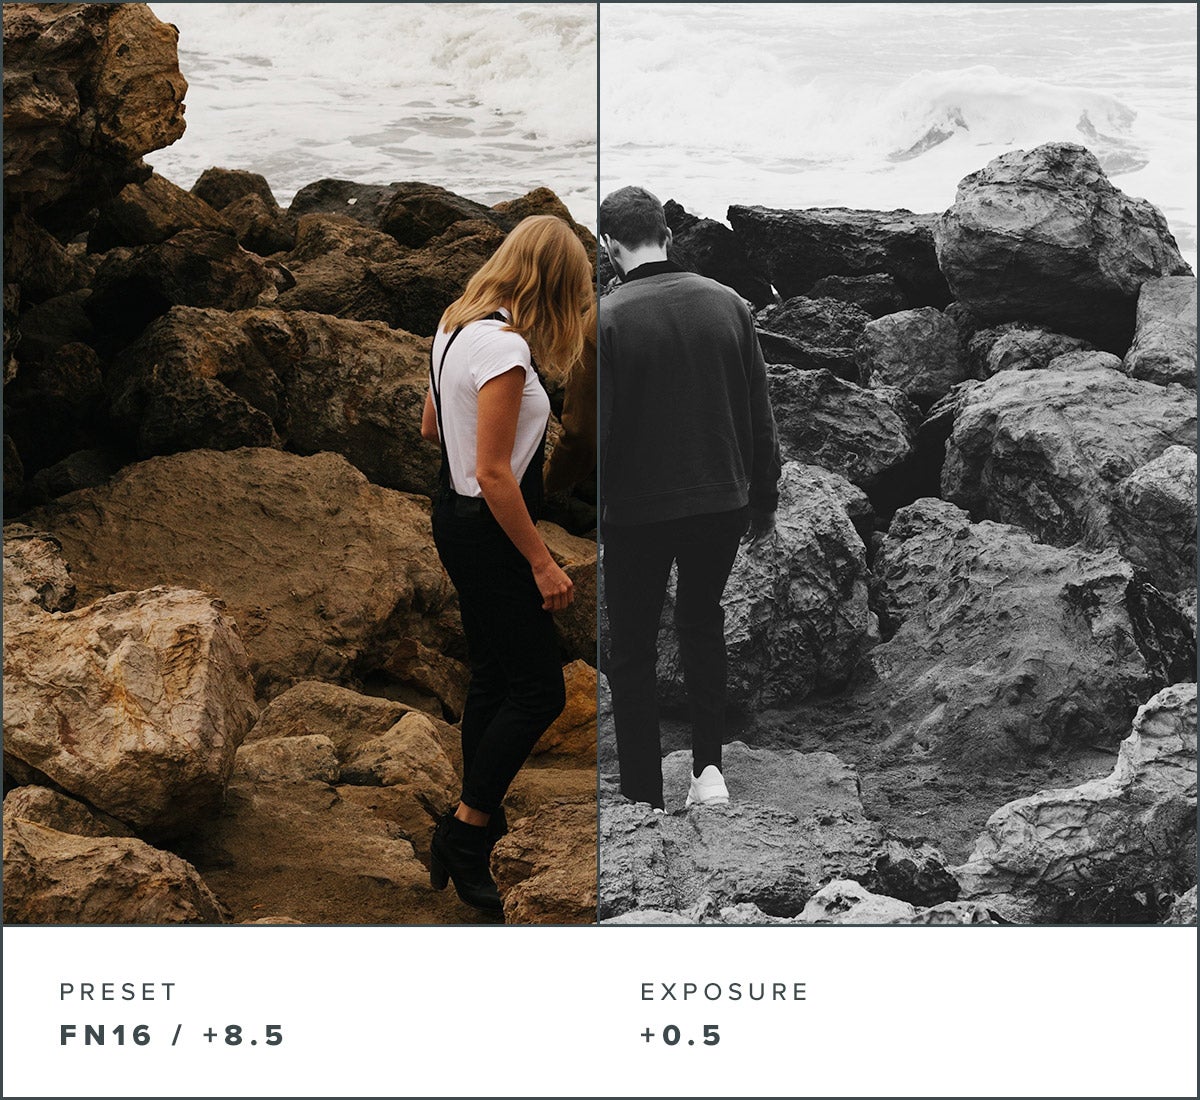
Channel your inner Ansel Adams and make way for timelessness with the FN16 preset, which recreates Fuji's classic Neopan 1600 film stock. Turning up the Exposure can completely change the detail in black and white photography, so don't be afraid to play around until the photo matches the story you want to tell.
Think back to how you felt in the moment the photo was taken. Taking your Exposure up a few notches can create a bright and cheery image that's perfect for photos of much-loved littles. Or, you can create a more pensive and serious image (hello, classic detective film) by keeping Exposure relatively low. Just remember: Lower Contrast and brighter edits will ensure that you capture more detail in the blacks of the image when you print your photo. (Really want to get that Ansel Adams effect? Add small amounts of Grain and Clarity.)
Have the VSCO app on your phone?
Tap here to go straight to the preset.
Recipe 04
Cities
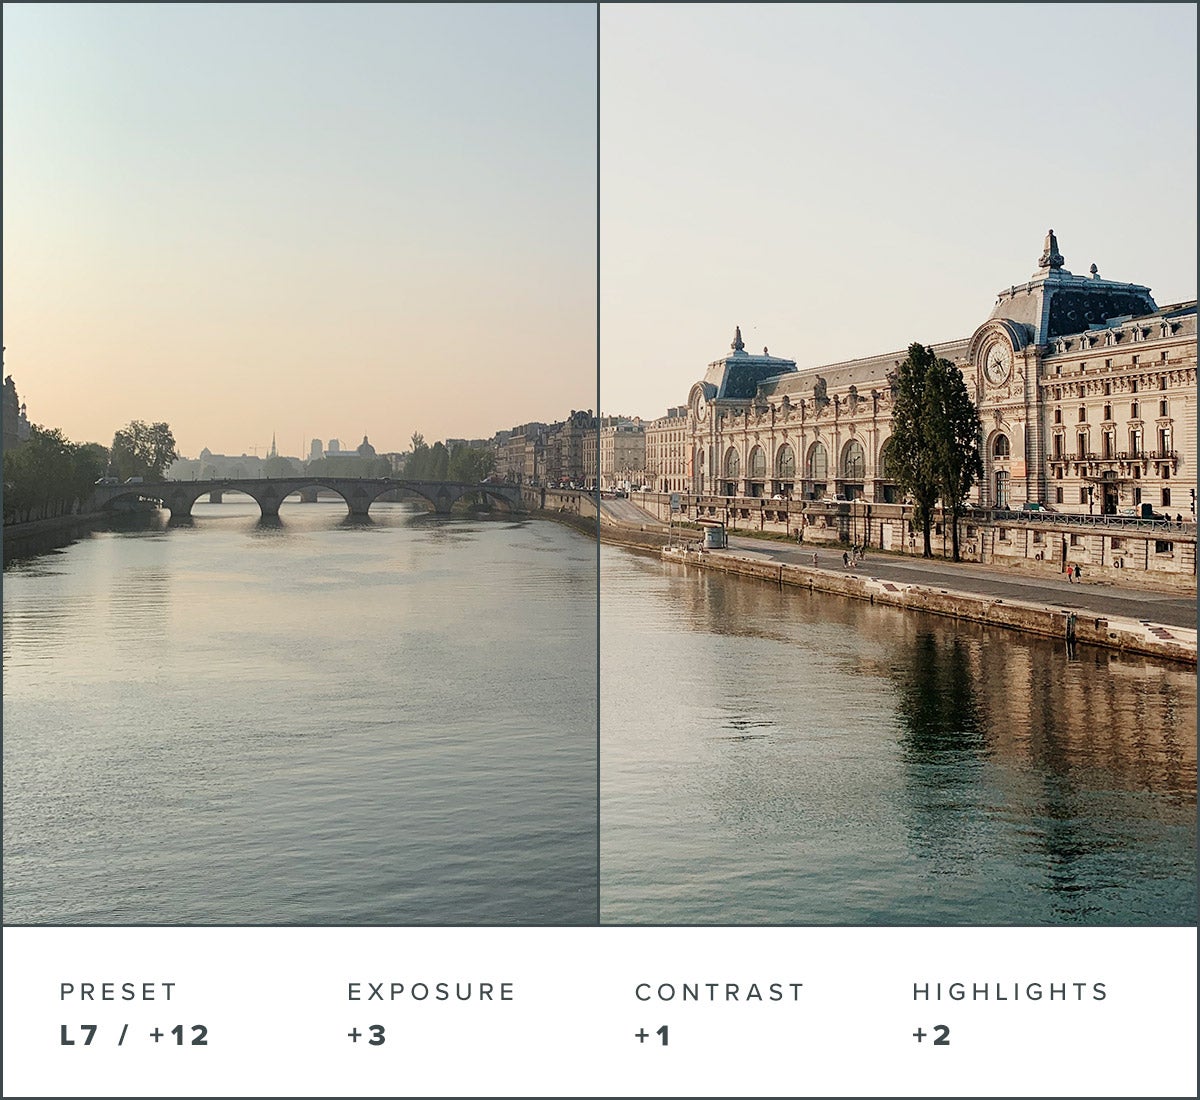
Cityscapes can make for busy images where buildings, roads, and crowds all find themselves competing for the limelight. This is where we call in a little help from our old friend, the L7 preset. Toning down the Saturation and Temperature just a bit can help ditch the competition for cohesion by bringing out some of the cooler colors that capture the best of concrete jungles and seaside villas alike. Give it the finishing touches with a slight bump to the Highlights using the Tone tool, smoothing the image out even further by (you guessed it) increasing the Exposure just a tad.
Have the VSCO app on your phone?
Tap here to go straight to the preset.
Recipe 05
Light
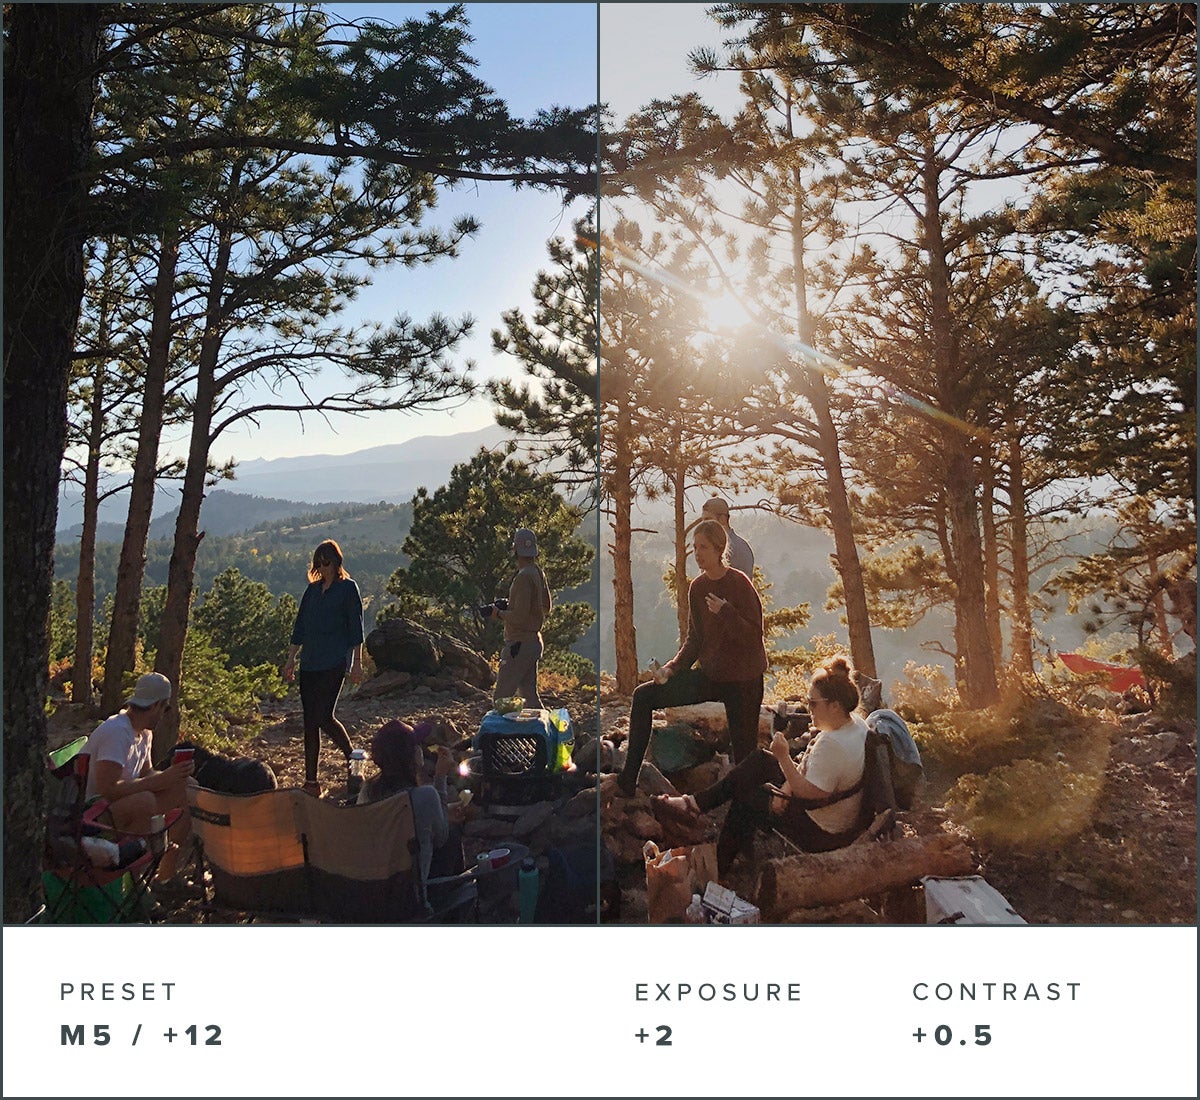
When it comes down to it, great photos are all about getting the light just right — which is easier said than done in sun-soaked photos or images with a bright source of light. Luckily, we've got a VSCO preset recipe we trust for sunny days, bright skies, rays of light poking through trees, and everything in between. Using the M5 preset, just add a small amount of exposure and contrast to bring out the light and balance the bright.
Have the VSCO app on your phone?
Tap here to go straight to the preset.
When It Comes to VSCO Tips...
The old saying goes "less is more," and it's no different when editing your photographs. Whether applying VSCO presets or other basic editing functions, we always aim for a look that stays true to the original — while emphasizing all the subtle nuances that made it great to begin with.
In that sense, you never want to stray too far from where you started, but a little bit of pop never hurts. That's why exposure is your best friend! 9 times out of 10, we bump up the exposure at least one notch before editing. (You'll thank us when you have those photo prints in hand.)

%2B2.jpeg)